The StorNext setup wizard guides you through the process of installing the StorNext File System on Windows machines.
When you are ready, use the setup wizard to install StorNext (see Install a StorNext File System).
If you did not install all StorNext components when you initially installed StorNext or wish to remove them later, you can add or remove components at any time (see Add or Remove StorNext Components).
(Optional) After installation, restore the previous client configuration (see Restore a Previous StorNext Client Configuration). This is only necessary if you have performed a complete removal of StorNext. The StorNext client configurations are fully maintained on upgrades from version 3.0 and later.
As new versions of StorNext are released, you can upgrade to a new version or reinstall (see Upgrade or Reinstall StorNext on a Windows Server).
Note: You must log on as an Administrator to install StorNext. If you are installing on Windows Vista, answer Yes to any messages asking if you want to run the installation process with administrative privileges.
- Copy the file named /fs_only/snfs_full_Windows_x86_64.zip from the installation DVD and place it on the system onto which you want to install it. For the SNFS-only installation, be sure to select the file from the fs_only directory and not the stornext_full directory.
- Unzip the file.
-
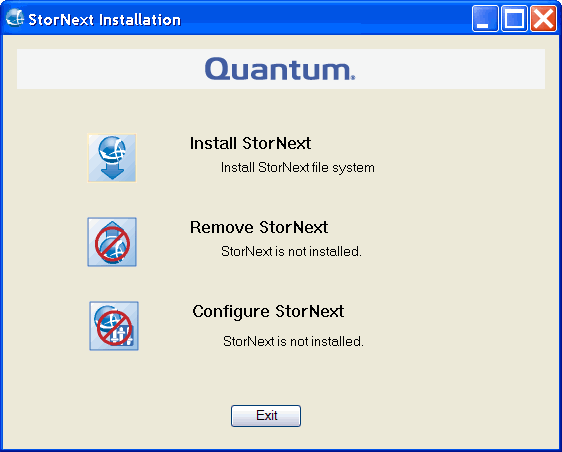
Double-click the file named Snfssetup.exe to launch the installer. The StorNext Installation window appears.
Note: For existing installations, do not use this procedure. Refer to the StorNext Upgrade Guide for upgrading existing StorNext.

-
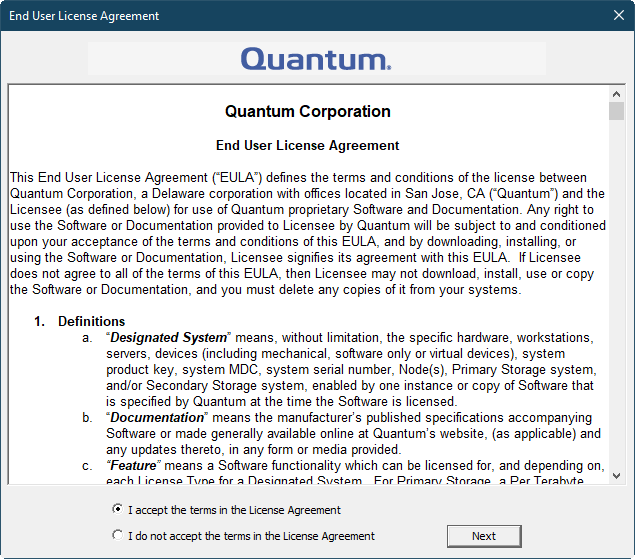
Click Install StorNext to begin installation. The StorNext File System License Agreement window appears.

-
Read the license. If you agree to the terms, select “I accept the terms in the License Agreement” and click Next to continue the install. The StorNext setup wizard launches.

-
Click Next to continue. The Customer Information window appears.

-
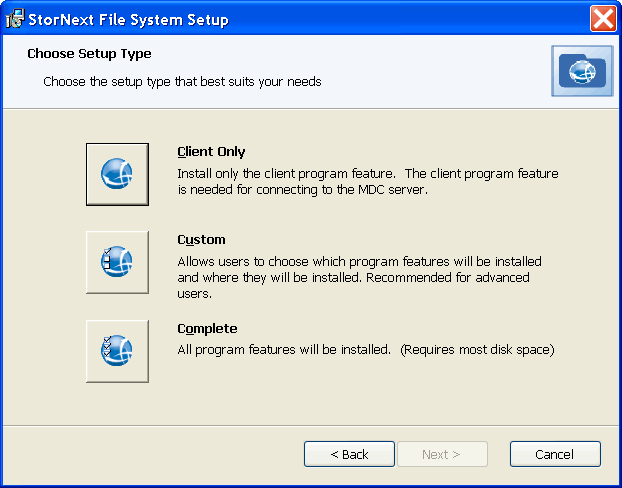
Type your name and the name of your company or organization in the boxes, and then click Next to continue. The Choose Setup Type window appears.

- Click one of the following installation options (to install StorNext File System you would click Custom or Complete):
- Client Only: Installs only the StorNext client software and help files in the default location (C:\Program Files\StorNext).
- Custom: Lets you choose which components to install and specify an installation location. When ready, click Next.
Complete: All installable components will be installed in the default location (C:\Program Files\StorNext). If the system is capable of running the StorNext server, the StorNext server will also be installed.
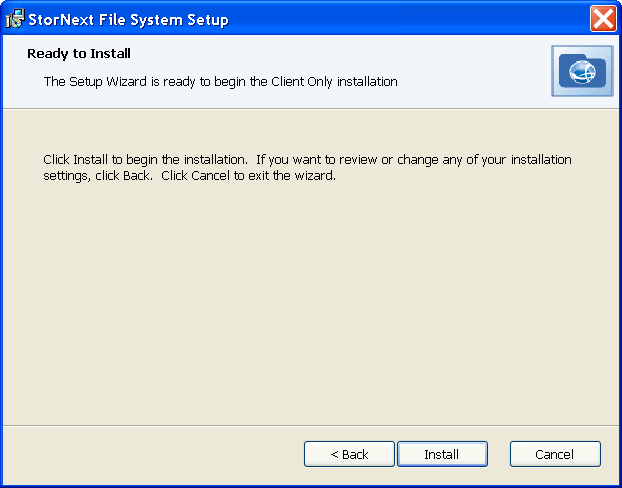
The Ready to Install window appears.

-
Click Install to continue. Wait while the setup wizard installs StorNext. When installation is complete, the Finish window appears.
Note: It make take several minutes for the installation to finish.

-
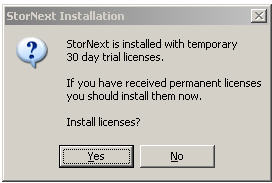
Click Finish to close the setup wizard. A dialog box opens letting you know that 30-day temporary licenses are installed and that you should install permanent licenses now. If you choose not to install them now, you can install them later using the Windows Start button (Start > Licenses or Start > All Programs > StorNext Licenses) or by following the instructions in Add or Remove StorNext Components.
-
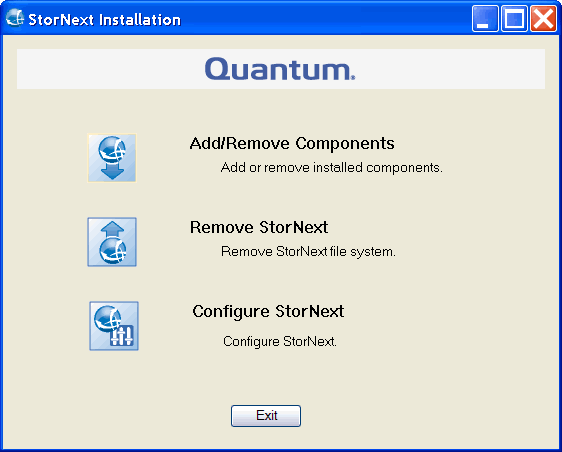
Click Yes to install permanent licenses now, or click No to install licenses later. If you choose to install now, complete the license installation screens that follow (for details, see Configure a StorNext File System on Windows). The StorNext Installation screen displays again with choices to Add/Remove Components, Remove StorNext, or Configure StorNext.

- The installation is complete. Click one of the following options:
- Add/Remove Components: The components you selected during the install are already added, but if you changed your mind and want to select different components, you can do so now. See Add or Remove StorNext Components for details.
- Remove StorNext: Removes StorNext file system. For more information, see Uninstall StorNext on Windows.
- Configure StorNext: Configures StorNext. For more information, see Configure a StorNext File System on Windows.
- Exit: Exits without making any further changes at this time (you can always perform configuration later).