After installing StorNext File System, you may wish to add or remove components. Specifically, you can add or remove the online help files, the StorNext client, and the StorNext server.
-
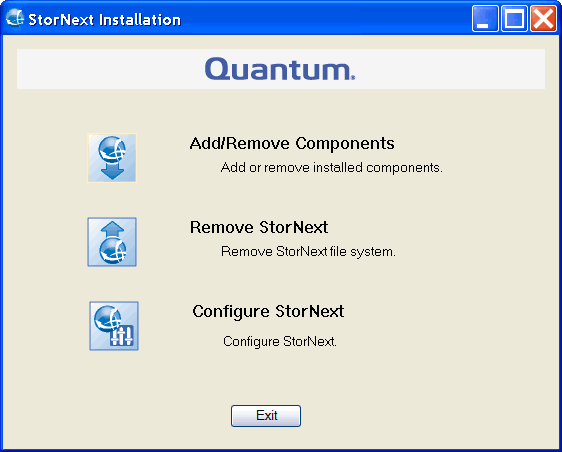
If you just completed installing StorNext, the StorNext Installation window displays. The components you selected during the install are already added, but if you changed your mind and want to select different components, you can do so now.

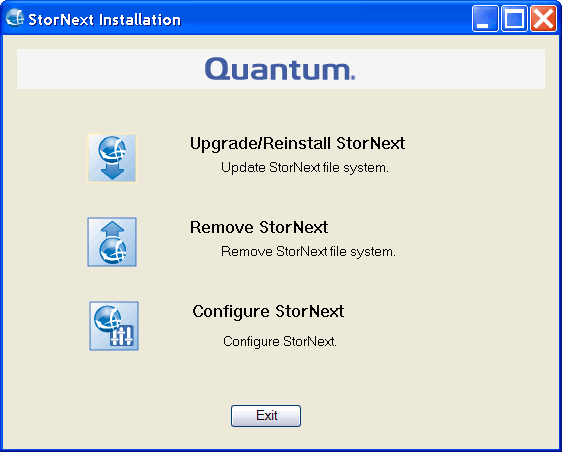
Note: If you previously installed StorNext and would like to add or remove components, display the StorNext Installation window by double-clicking the file named SnfsSetup64.exe (64-bit systems). Note that the screen is slightly different from above; instead of Add/Remove Components, the button you must click is labeled Upgrade/Reinstall StorNext.

-
Click Add/Remove Component or Upgrade/Reinstall StorNext, depending on which screen you are looking at. The Component Selection screen appears.

-
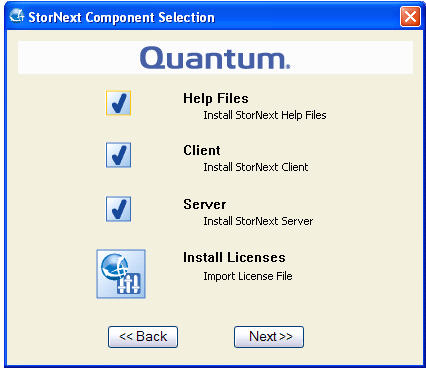
Select the check boxes of the components you want to add. Clear the check boxes of the components you want to remove. Click Next to proceed.
Note: The Install Licenses option allows you to import your StorNext licenses onto the StorNext server, if you have not already done so. You may also install licenses later using this screen or the Windows Start button (Start > Licenses or Start > All Programs > StorNext > Licenses). The StorNext End User License Agreement (EULA) appears.
- Read and accept the EULA by selecting “I accept the terms in the License Agreement” and clicking Next. It make take several minutes for the selected components to finish being added or removed.
- When a message informs you that the process is complete, click OK.
- Click Exit.