 minute read
The StorNext setup wizard guides you through the process of installing the StorNext client software on Windows machines.
If you did not install all StorNext components when you initially installed StorNext or wish to remove them later, you can add or remove components at any time (see Add or Remove StorNext Components).
Note: After installation, it is completely optional for you to restore the previous client configuration (see Restore a Previous StorNext Client Configuration). This is only necessary if you have performed a complete removal of StorNext. The StorNext client configurations are fully maintained on upgrades from version 3.0 (and later).
As new versions of StorNext are released, you can upgrade to a new version or reinstall (see Upgrade or Reinstall StorNext Clients).
Note: You must log on as an Administrator to install StorNext. If you are installing on Windows Vista, answer Yes to any messages asking if you want to run the installation process with administrative privileges.
-
Download the StorNext client software from the MDC as described in Download the StorNext Client Software.
Note: If you are running SNFS-only on a Windows machine or have an Xsan MDC, you cannot download the StorNext client software from the MDC. Instead, you must obtain the StorNext client software from the StorNext installation DVD. Copy one of the following files from the DVD and place it in an accessible location on the client system, then proceed to the next step.
- fs_only/snfs_client_Windows_x86_64.zip (for 64-bit systems)
- If necessary, unzip the client software file you downloaded.
-
Open the unzipped folder and double-click the client software installer file. This file is named SnfsSetup.exe. The StorNext Installation window appears.
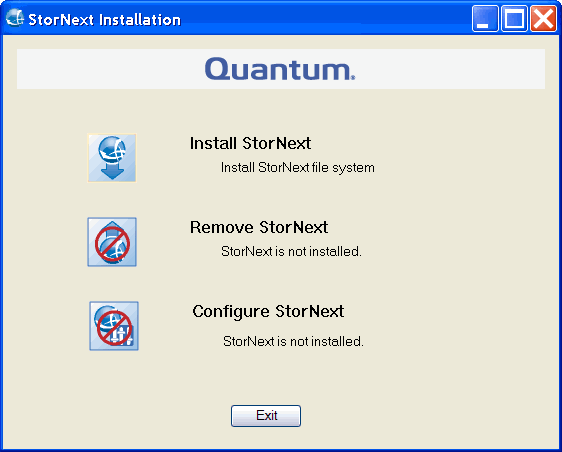
- Click Install StorNext to begin installation. The End User License Agreement dialog appears.
-
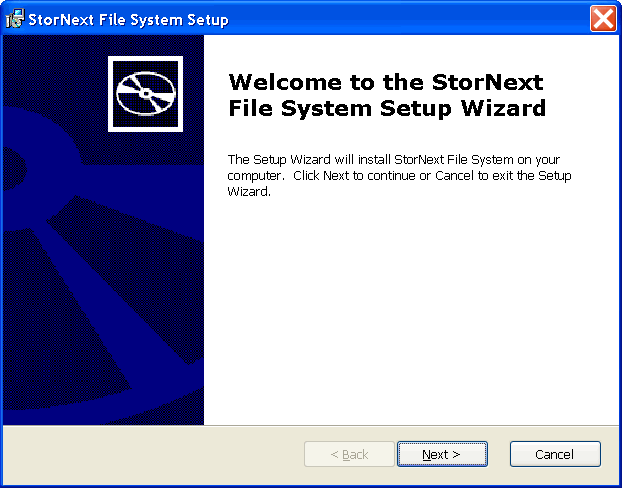
Read the license. If you agree to the terms, click I accept the terms in the License Agreement and click Next to continue the installation process. The StorNext File System setup wizard launches.
-
Click Next to continue. The Customer Information window appears.

-
Type your name and the name of your company or organization in the boxes, and then click Next to continue. The Choose Setup Type window appears.
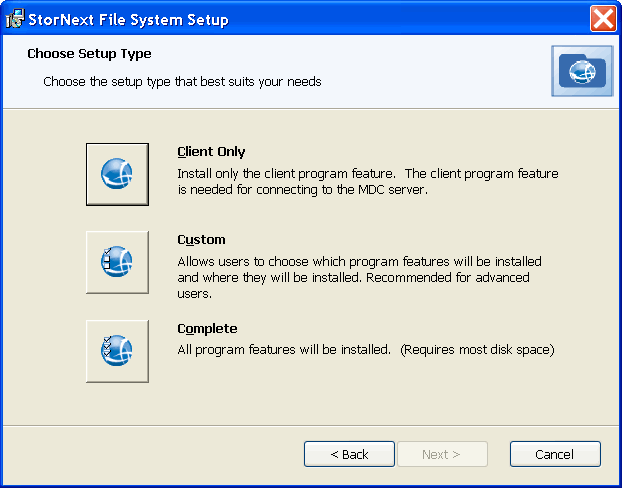
- Click one of the following installation options. Since this is a client-only install, you should select Client Only or Custom.
- Client Only: Installs only the client program feature and help files in the default location.
- Custom: Allows you to select which program features are installed and where to install the program features.
Complete: Installs all program features.
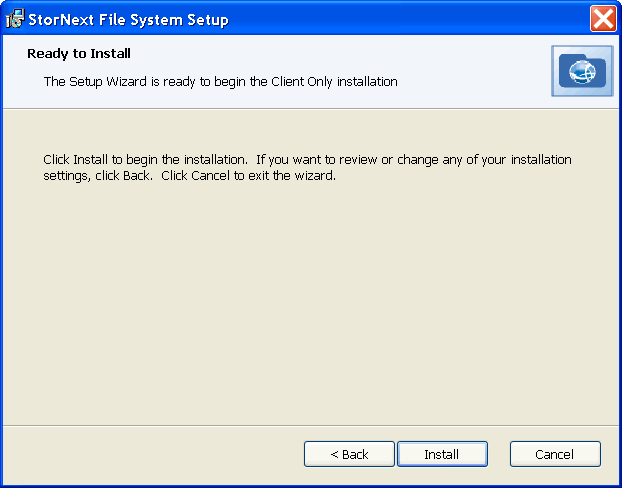
The Ready to Install window appears.
-
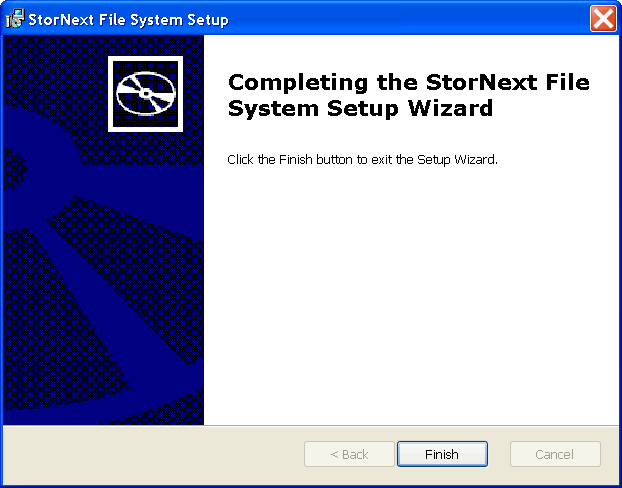
Click Install to continue. Wait while the setup wizard installs StorNext. When installation is complete, the Finish window appears. It may take several minutes for the installation to finish.
-
Click Finish to close the setup wizard. The Installation Complete dialog box opens.
-
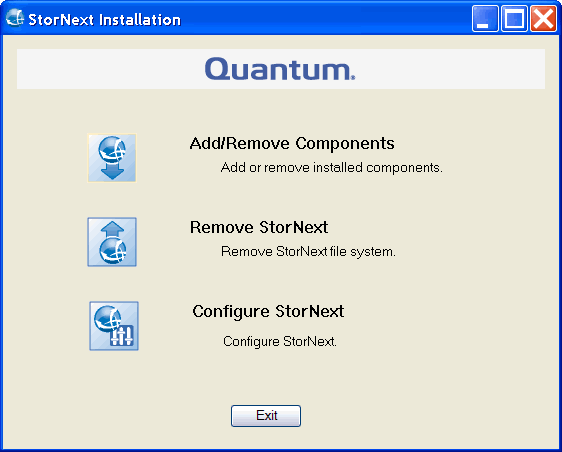
Click OK in the Installation Complete dialog box. The StorNext Installation dialog appears with options to Add/Remove Components, Remove StorNext, or Configure StorNext.
-
(Optional) Quantum recommends you modify the NetworkThrottlingIndex regsitry key value to optimize performance for multimedia streaming and ensure that audio and video playback are smooth. By default, NetworkThrottlingIndex is set to a value that throttles network operations to prioritize multimedia workloads. Typically, this value is 10 (decimal), which corresponds to a certain level of throttling (measured in milliseconds for network packet scheduling).
-
Purpose of NetworkThrottlingIndex: Windows implements network throttling to optimize performance for multimedia streaming and ensure that audio and video playback are smooth. By limiting the network bandwidth that background tasks or processes can consume, Windows helps prevent network congestion that could disrupt multimedia playback.
-
Setting NetworkThrottlingIndex to 0xFFFFFFFF: When you set the value of NetworkThrottlingIndex to 0xFFFFFFFF (hexadecimal for 4,294,967,295), it disables network throttling entirely. This means:
-
No throttling occurs for any application or service on the system.
-
The system allows maximum network throughput for all processes, including multimedia ones.
-
-
Why Disable Throttling? Some users or administrators might disable throttling by setting NetworkThrottlingIndex to 0xFFFFFFFF to achieve the following:
-
Maximize network performance, especially for demanding tasks such as online gaming, video streaming, or data transfer.
-
Resolve performance issues related to network-intensive applications where throttling might inadvertently reduce efficiency.
-
-
Potential Downsides: Disabling network throttling might lead to:
-
Network congestion if multiple applications are competing for bandwidth.
-
Lower priority for multimedia applications, potentially causing issues like lag in video playback or audio disruptions if the system is under heavy load.
-
Do the following to modify the Windows registry:
Note: Modifying the Windows registry can have unintended consequences. Always back up the registry or create a restore point before making changes.
-
Open the Registry Editor (regedit).
-
Navigate to:
HKEY_LOCAL_MACHINE\SOFTWARE\Microsoft\Windows NT\CurrentVersion\Multimedia\SystemProfile -
Locate or create the NetworkThrottlingIndex key (REG_DWORD value).
-
Set its value to 0xFFFFFFFF to disable throttling, or another value to adjust throttling levels.
-
- The installation is complete. Click one of the following options:
- Add/Remove Components: The components you selected during the install are already added, but if you changed your mind and want to select different components, you can do so now. See Configure the StorNext Client Software on Windows for details.
- Remove StorNext: Removes StorNext file system. For more information, see Uninstall StorNext on Windows.
- Configure StorNext: Configures the StorNext client. For more information, see Configure the StorNext Client Software on Windows.
- Exit: Exits without making any further changes at this time (you can always perform configuration later).
