Tools > Storage Manager > Client-side Encryption
The Tools > Storage Manager > Client-side Encryption page lists the master keys that can be used for client side encryption.
| Parameter | Description |
|---|---|
| Master Key | Displays the name of the master key. |
| Creation Time | Displays the time when the selected master key was created. |
| Modified Time | Displays the time when the selected master key was last modified. |
| Number of Instances | Displays when the selected master key is edited, or a new instance of the master key is created. This column displays the number of instances that exist for the selected master key. |
| New... | Click to create a new master key. |
| Edit... | Click to edit an existing master key. |
| Refresh | Click to refresh the data on this page. |
| Select Action |
Click to display a list of available drop-down options. The available options are:
|
- Click New.... The Tools > Storage Manager > Client-side Encryption > New page appears.
-
In the Master Key Store ID field, input the master key store identification number. This is a mandatory field limited to 15 characters. Only alphanumeric characters and the special characters - (dash), _ (underscore), and . (period) are allowed.
Note: This field only appears when you create master keys for the first time.
- In the Master Key Name field, input the master key name. This is a mandatory field limited to 31 characters. Only alphanumeric characters and the special characters _ (underscore), - (dash), . (period), and ! (exclamation mark) are allowed.
- In the Master Key Passphrase field, input the Master Key passphrase. This is a mandatory field limited to 127 characters. This passphrase must be remembered or be kept in safe place. It is required for updating the passphrase.
- (Optional) Click the Show Passphrase box to display the passphrase text. Since the passphrase text is secret text, it is masked by default.
- Click Apply to create the new master key, or click Cancel to discard your changes and exit without creating the master key.
- On the Tools > Storage Manager > Client-side Encryption page, select a Master Key.
- Click Edit.... The Tools > Storage Manager > Client-side Encryption > <your key> page appears.
Note: The Master Key Name field displays the master key name. The name cannot be edited.
- In the Current Master Key Passphrase field, input the Current Master Key passphrase. This is a mandatory field.
- In the New Master Key Passphrase field, input the New Master Key passphrase. This is a mandatory field limited to 127 characters. This passphrase must be remembered or be kept in safe place. It is required for updating the passphrase.
- (Optional) Click the Show Passphrase box to display the passphrase text. Since passphrase text is secret text, it is masked by default.
- Click Apply to edit the master key, or click Cancel to discard your changes and exit without editing the master key.
Both client side compression and client side encryption are enforced and configured as a Policy class attribute. To enable client side encryption for a policy class, a master key must be selected. If a master key does not exist, create a master key first. Master keys are created and managed by the command fskey. See the StorNext MAN Pages Reference Guide for the various policy class commands.
For example:
fsaddclassfsmodclassfsrmclassfsclassinfofskey
The command fskey adds, modifies and reports master keys used in the client-side encryption feature in the Quantum storage system. The command can also be used to generate a new data protection key associated with a specific master key. A data protection key (DPK) is used to encrypt data content before it is uploaded to an Object Storage when the client-side encryption is enabled, while master keys are used to wrap (encrypt) data protection keys.
A master key’s content is derived from a user-supplied passphrase. Each master key has a unique name. This unique key name can be assigned to a particular policy if the client-side encryption feature is enabled for this policy. The key content of a master key can be changed by providing a new passphrase. In this case, a new master key instance is created. The old instance is then removed after all data protection keys wrapped by the old instance are rewrapped by the new instance.
For additional information, see Tools > Storage Manager > Client-side Encryption.
The qcloud_audit utility generates a peer device key file containing CSV list of files stored to Q-Cloud in the given output directory. Execute the command qcloud_audit -h to display a list of arguments and the usage description of the tool.
The CSV list contains the following for each file stored to Q-Cloud:
| Parameter | Description |
|---|---|
|
|
Displays the path from the relation point to the file. |
|
|
Displays the name of the file. |
|
|
Displays the ID of the file owner. |
|
|
Displays the encryption type:
|
|
|
Displays the name of the bucket where the file is stored. |
|
|
Displays the object ID of the file. |
|
|
Displays the time-stamp of the file's last modification in the form:
|
|
|
Displays the time-stamp when the Q-Cloud copy batch was completed in the form:
|
For example, execute the following command:
The command generates a CSV file titled "Qcloud_1.audit" (assume the device key is 1). The content of the file contains information similar to the following:
path2, file2, 456, 1, bucket1, 000002, 07-09-2015:19:24:13, 07-09-2015:19:24:54
path3, file3, 789, 2, bucket1, 000003, 07-09-2015:19:24:13, 07-09-2015:19:24:54
Note: The time required to complete the command is directly proportional to the number of files stored to Q-Cloud.
Note: The output of the Q-cloud audit log can reach up to 6GB per million copies stored. Ensure your system contains sufficient storage space before running the audit process.
Beginning with StorNext 5 release 5.3, with compression and encryption for Q-Cloud devices, you can request to view compression and encryption usage information. The compression and encryption usage information is reported by the command fsobjinfo.
Execute the command fsobjinfo to generate the compression and encryption usage report. The command fsobjinfo produces a summary usage report for object store media. Object store usage is summarized based on object store media ID and policy class ID. Reported usage can be limited to the optionally specified set of policy class IDs or object store media IDs.
In order to generate accurate reports, existing Q-Cloud Archive usage must be accounted for. The usage information in the filecomp table must be populated in the filecomp_obj and classobj_info tables. The command qcloud_migrate.pl provides the capability; execute the command qcloud_migrate.pl after you upgrade your system to StorNext 5 release 5.3 (or later).
The full path of the command is:
/usr/adic/TSM/util/install/qcloud_migrate.pl
Note: Your system will operate normally without execution of the qcloud_migrate.pl command.
- You can execute the command anytime after an upgrade to StorNext 5 release 5.3 (or later).
- Execute the command
qcloud_migrate.plonly once. - The compression and encryption usage report may not be accurate if your system contains existing Q-Cloud Archive devices.
- If your system does not contain existing Q-Cloud Archive devices, do not execute the command
qcloud_migrate.pl.
With compression and encryption for Q-Cloud devices, you can request to view compression and encryption usage information. The compression and encryption usage information is reported by the command fsobjinfo.
Execute the command fsobjinfo to generate the compression and encryption usage report. The command fsobjinfo produces a summary usage report for object store media. Object store usage is summarized based on object store media ID and policy class ID. Reported usage can be limited to the optionally specified set of policy class IDs or object store media IDs.
In order to generate accurate reports, existing Q-Cloud Archive usage must be accounted for. The usage information in the filecomp table must be populated in the filecomp_obj and classobj_info tables. The command qcloud_migrate.pl provides the capability; execute the command qcloud_migrate.pl after you upgrade your system to StorNext 5 release 5.3 (or later).
The full path of the command is: /usr/adic/TSM/util/install/qcloud_migrate.pl
Note: Your system will operate normally without execution of the qcloud_migrate.pl command.
- You can execute the command anytime after an upgrade to StorNext 5 release 5.3 (or later).
- Execute the command
qcloud_migrate.plonly once. - The compression and encryption usage report may not be accurate if your system contains existing Q-Cloud Archive devices.
- If your system does not contain existing Q-Cloud Archive devices, do not execute the command
qcloud_migrate.pl.
The Relocation tab enables you to configure the Disk-to-Disk relocation feature.
Disk-to-Disk relocation allows you to move data from one set of disks (disk stripe group) to another without affecting the file name space. In order to use this feature you must have a managed file system with at least two affinities configured.
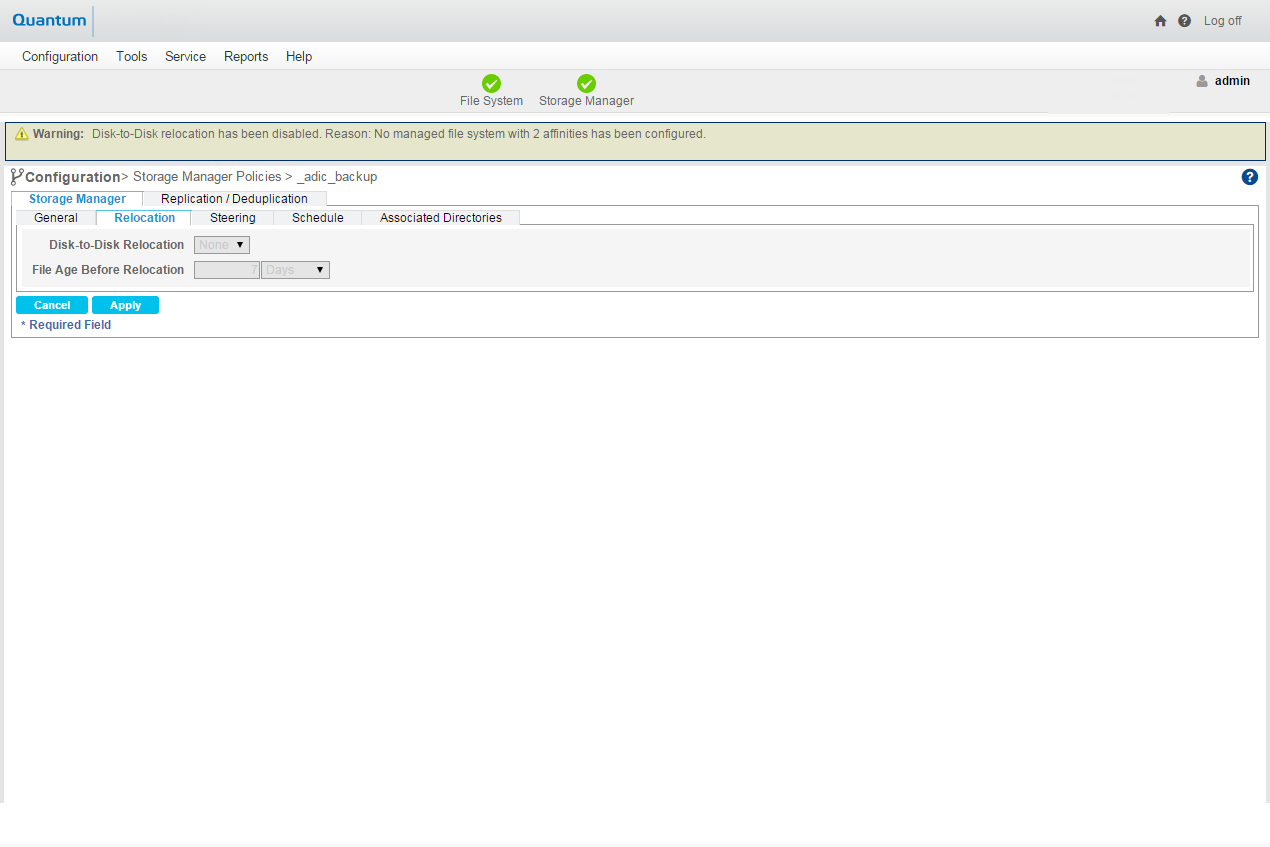
For instructions on what to enter on this screen, see The Relocation Tab.
The Steering tab enables you to configure file steering, which allows you to direct a copy of a file to a designated drive pool. This is normally used when you want to direct two or more copies of a file to different archives by putting the tape drive in separate pools and then setting the copy number of the file to go to that pool. You can also use this feature to route your copies of the file to different media types, including storage disks.
