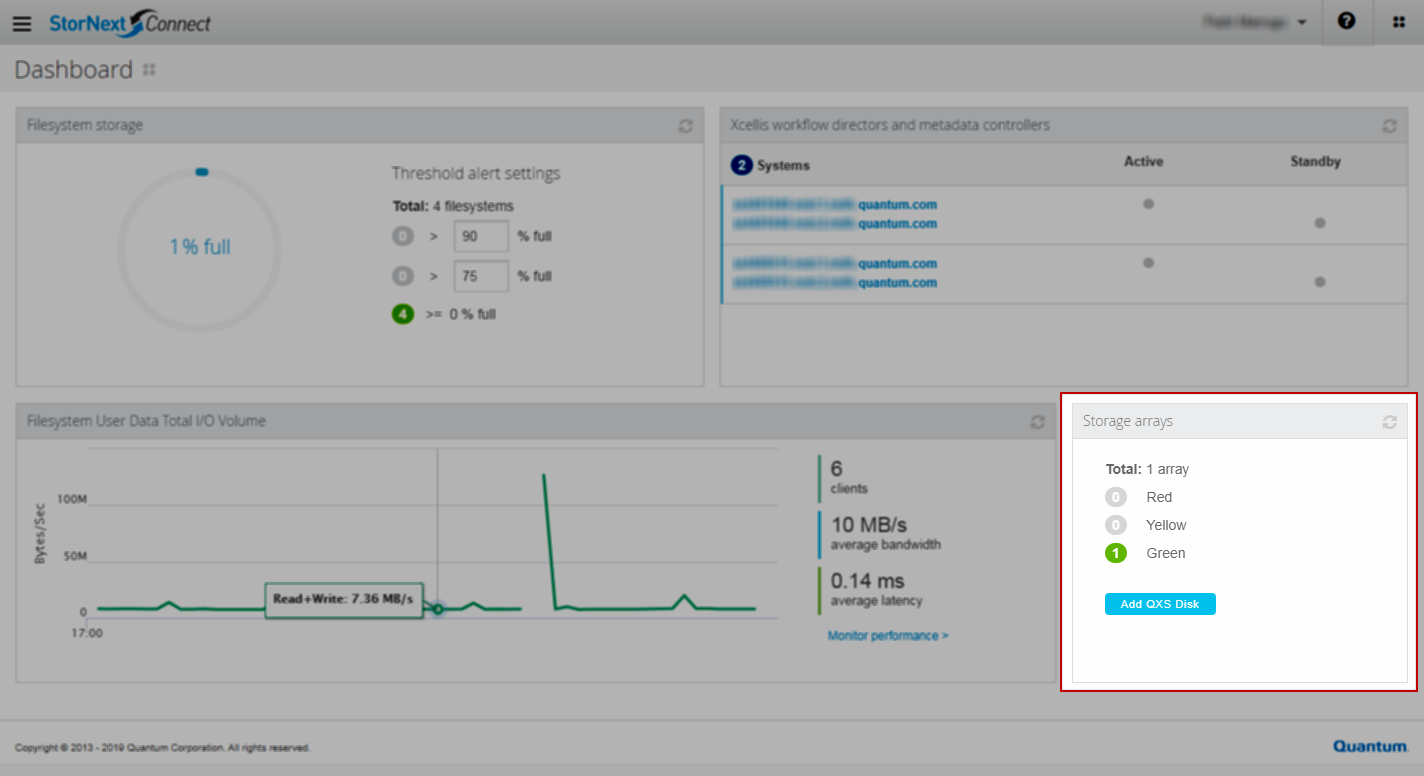
On the Dashboard, you can view the health of a QXS disk in the Storage arrays widget.

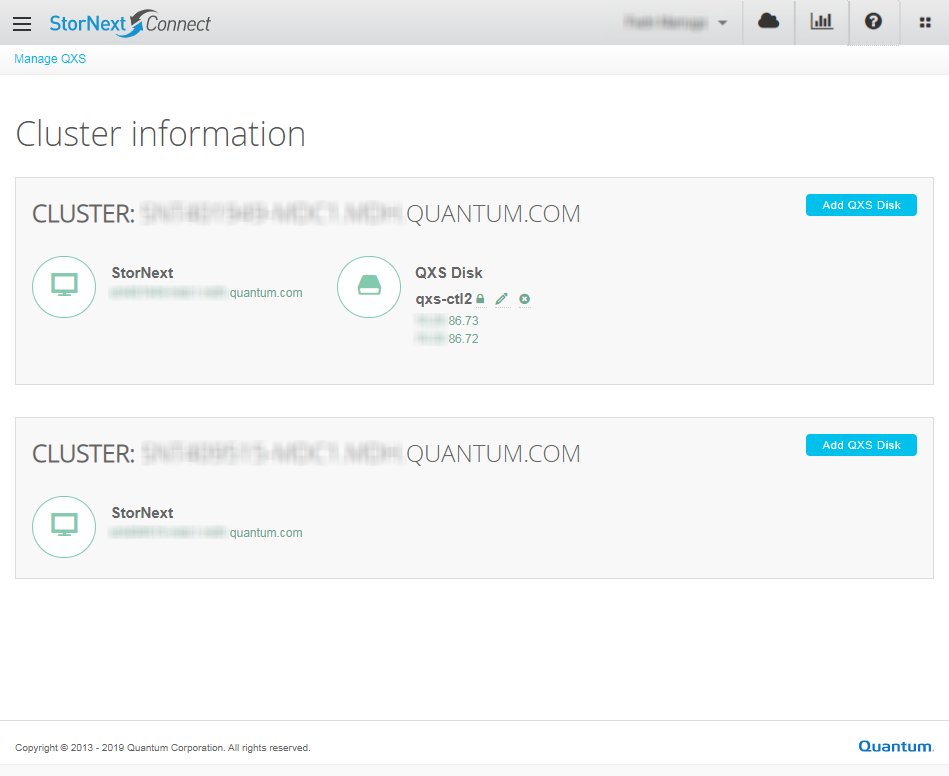
The Manage QXS application allows you to manage components in the StorNext environment, such as tape libraries and to manage which QXS disks are monitored by StorNext Connect.

If the StorNext Connect environment has multiple workspaces (clusters), you can add a QXS disk to any of the workspaces (see Add a QXS Disk as a Monitored Component). If you want to change the workspace with which a QXS disk is associated, see Change the QXS Cluster.
Similarly, if the IP addresses of the QXS disk have changed, remove the QXS disk from StorNext Connect monitoring and then re-add it using one of the new IP addresses.
Additional Information
The QXS disk management tasks you perform in the Manage QXS app only update the information in the StorNext Connect database to ensure that StorNext Connect is able to monitor the health status of the QXS disks in your environment. The app does not make changes to the QXS disks' configuration.
StorNext Connect will monitor the performance of the QXS disks used for your StorNext file systems regardless of whether the disks are added for health monitoring.
If you need to make changes to a QXS disk's configuration, see the documentation for the QXS disk. Documentation for other Quantum products, including QXS Hybrid Disk, are available from the Documentation Portal.
- Click the links to launch the web user interfaces for each of the components (server, storage, tape library) in separate browser windows.
You can also access the management interfaces from the Dashboard:
- Xcellis Workflow Directors and MDCs (Metadata Controllers widget)
- Storage enclosures (Storage arrays widget)
- Storage managers (Tape libraries widget)
Before StorNext Connect can monitor a QXS disk, you must add it.
Add and Remove QXS Arrays for Monitoring
- Click the Hamburger icon, click Management, and then click Manage QXS.
- Click Add QXS Disk for the workspace.
- Enter a routable IP address for the QXS disk so that StorNext Connect can communicate with it. You can use the IP address for either controller.
-
Enter a valid user name and password for the QXS disk, and then re-enter the password.
- Click Save. The QXS disk appears on the page.
If you change the login information for a QXS disk, you need to change it in StorNext Connect database so that StorNext Connect continues to monitor the disk.
Do the following to change an existing cluster associated with a QXS disk, or to associate a cluster with a QXS disk (for example, when your QXS disk is in the NO CLUSTER state).
You can remove a QXS disk from the StorNext Connect database to stop monitoring it in StorNext Connect.
Add and Remove QXS Arrays for Monitoring
- Click the Hamburger icon, click Management, and then click Manage QXS.
- Click
 next to the name of the QXS disk you want to remove.
 - Click Yes to confirm the change. The QXS disk is removed from the page.
Related Topic


