Packing the Service Tray
Handling the Service Tray
-
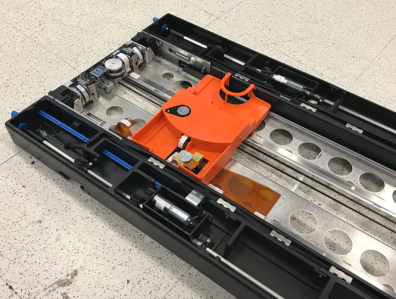
Place the Robot Shipping Restraint on the Robot Picker when handling the Service Tray. This will prevent excessive movement and damage to the Robot Picker.
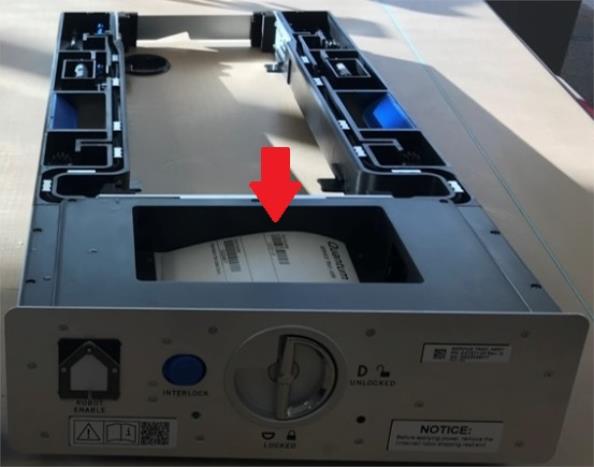
Note: When restrained, the robot picker must be aligned over the reach assembly in the location noted below.
-
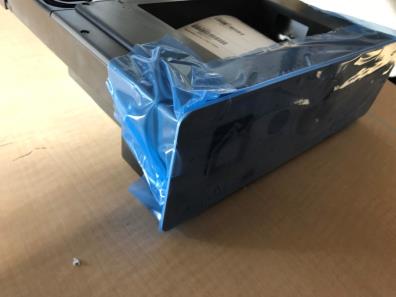
Use the blue handles on the Service Tray when handling the Service Tray.
Item Name Description 1 Service Tray Handles Use handles when lifting and moving Service Tray. -
Keep the Service Tray horizontally flat. Handling the Service Tray vertically or at an angle may cause damage to tray components.
Important Information
-
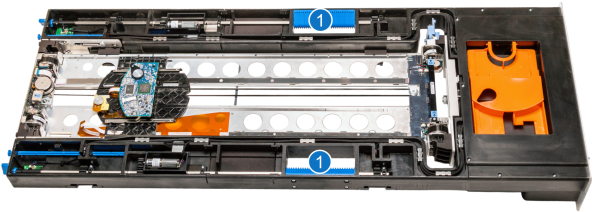
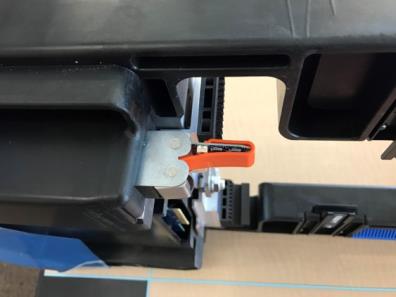
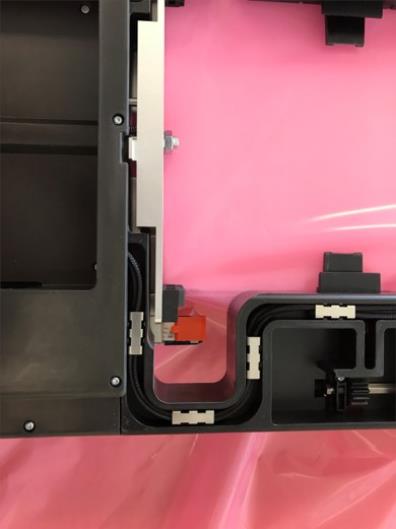
When the Service Tray is out of the library, do not touch the toothed belt that drives the robot picker mechanism. The belt is under low spring tension and is not designed to withstand direct intentional or unintentional handling.
-
When the Service Tray is out of the library, do not touch robot ribbon cable . The cable tether and orange cable guide are not designed to withstand direct intentional or unintentional handling. If the cable tether gets folded, creased, or bent in manner that is not part of normal robotic operation, the cable can take a permanent set that can later interfere with automatic robot operation.
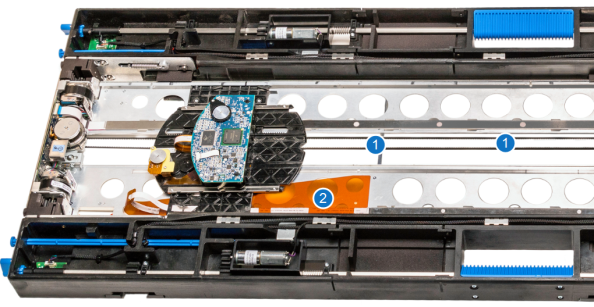
| Item | Name |
|---|---|
| 1 | Robot Picker Belt |
| 2 | Robot Ribbon Cable |
Service Tray Packing Instructions
The following items are required to ship a Scalar Service Tray.
| Part Number | Description |
|---|---|
| 1-06619 | Robot Shipping Restraint |
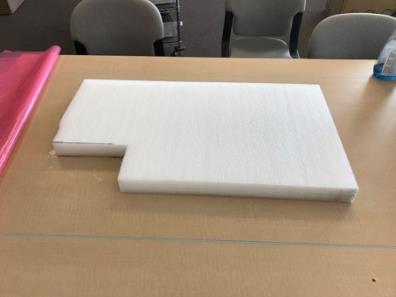
| 1-07573 | Service Tray Packing Foam |
| 1-07514 | Shipping Box (48 x 24 x 12) |
| 3-06125 | Plastic Sheeting |
| 3-07132 | Shipping Label |
To correctly pack a Service Tray for shipping, following the procedure below.
-
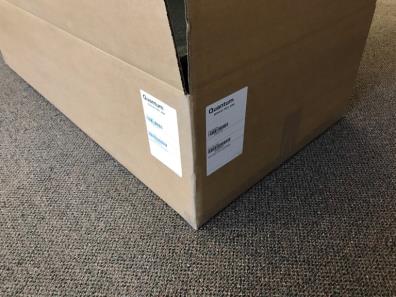
Print the service tray shipping box labels prior to packing. Match labels to the Service Tray and place in the Service Tray
-
If the Service Tray you are shipping contains a robot, follow the instructions in Steps 2 and 3 below.
If the Service Tray does not contain a robot, go to Step 4 below.
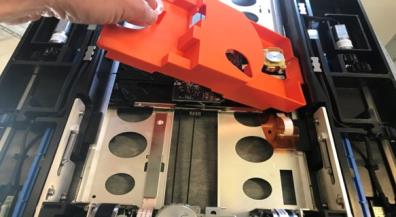
Carefully place Robot Shipping Restraint over the picker while making sure it aligns over the reach assembly (see image and instructions below).

-
Gently push down the right side of the restraint into place. It should seat into a pocket in the Service Tray.
-
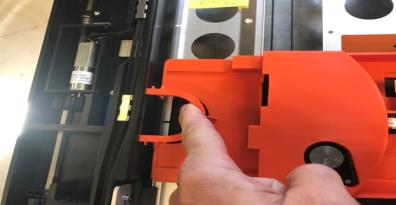
Gently push down the left side of the restraint into place until it snaps into the Service Tray.
-
-
Before shipping the Service Tray, the capture and receive shelves must be retracted into the Service Tray, To retract the shelves, depress the Service Override button while rotating the paddle to the Captured position. Repeat this step on the other side of the Service Tray.
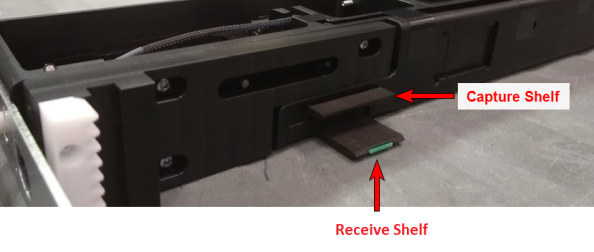
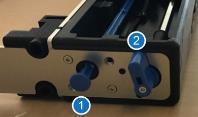
Item Name Description 1 Service Override Button This button must be engaged to turn the paddle. 2 Paddle Engage the paddle until the capture and receive shelves are retraced into the Service Tray -
Clean the Service Tray. Quantum recommends using 70% Isopropyl Alcohol and Windex. A cleaner such as Formula 409 can be used, but the tray must then be wiped down with Windex to avoid leaving a film on the tray.
-
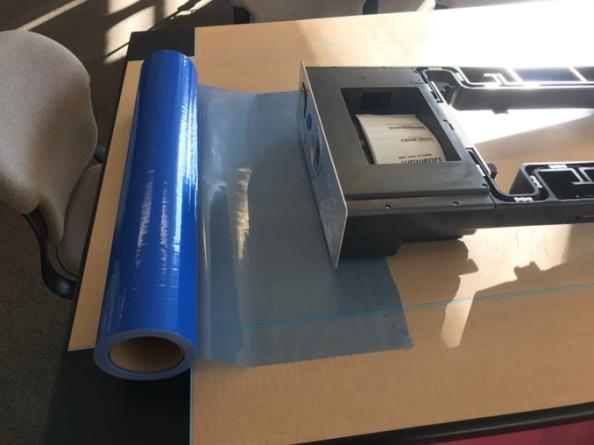
Cut approximately 10 inches (25.4 cm) of protective sheeting.
-
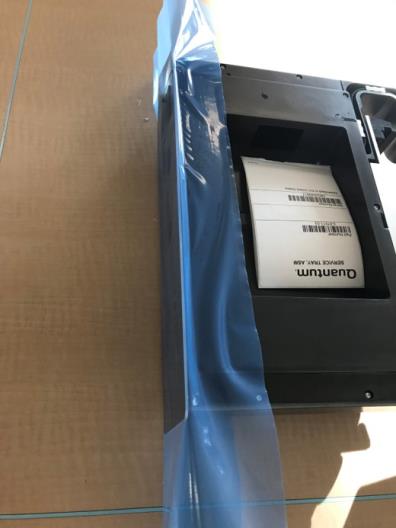
Lay the sheeting against rear of the tray. Tuck the sheeting over the top so it tight to the plastic molding on the Service Tray.
-
Tuck in the sides of the wrap so that the wrap fits against the tray.
-
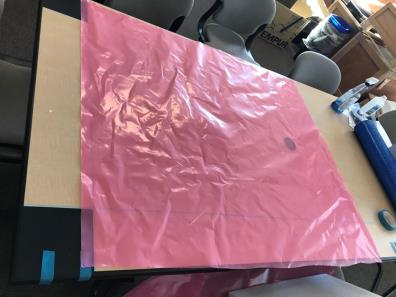
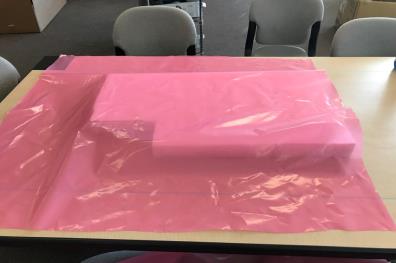
Cut 40 inches (102 cm) of plastic sheeting. This sheet will be used to wrap the Service Tray.
-
If the Service Tray contains a robot, go to Step 10 below.
If the Service Tray does not contain a robot, follow the steps below:
-
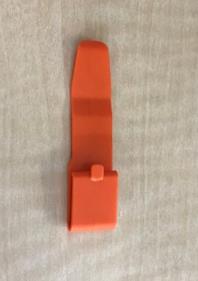
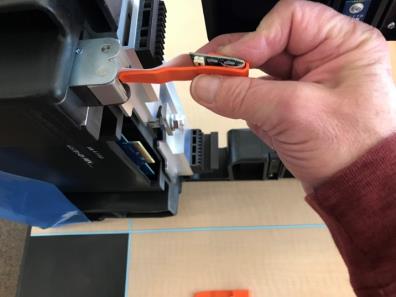
Install a protective clip on the cable spool.
-
-
Lay a 2 inch (5 cm) foam spacer that contains a cutout for the cable spool on a table.
-
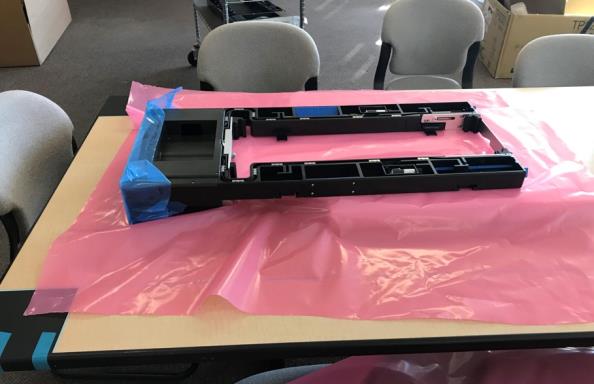
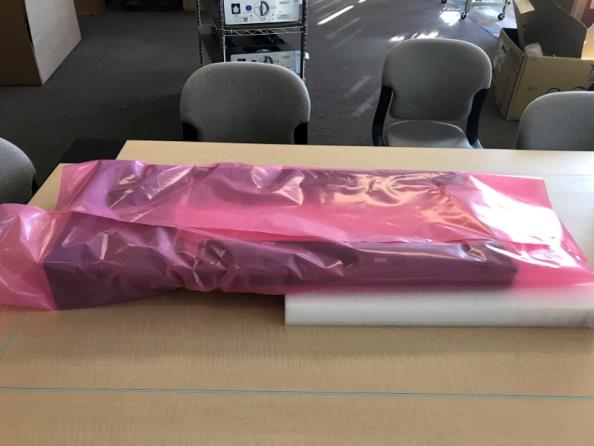
Center the plastic sheet cut in Step 8 over the foam spacer.
-
Place the Service Tray on the top of the plastic sheet and foam spacer. The Service Tray should be against foam spacer and the cable spool should be in foam cut out.
Note: Place the inspection sheet inside the Service Tray before folding the plastic sheet.
-
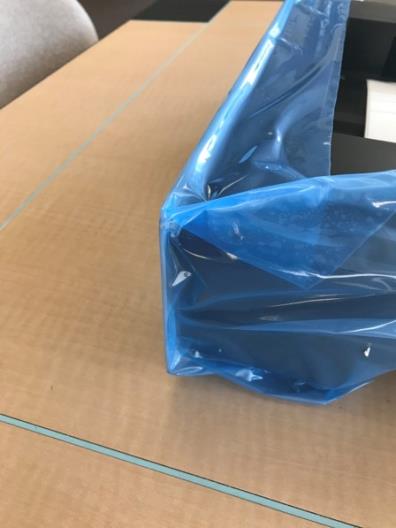
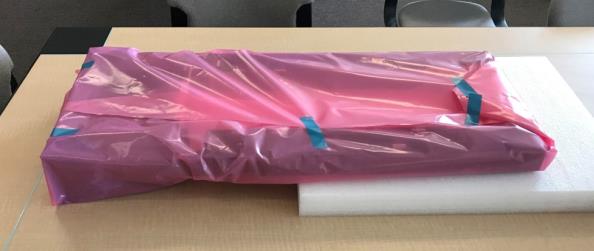
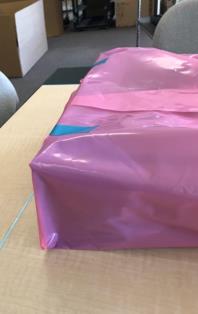
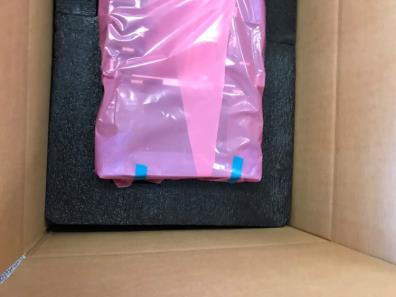
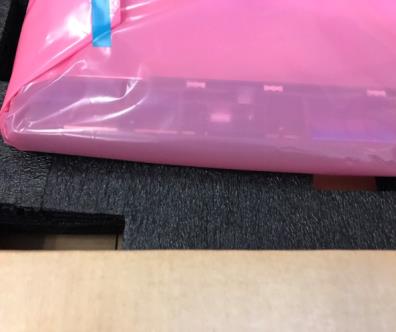
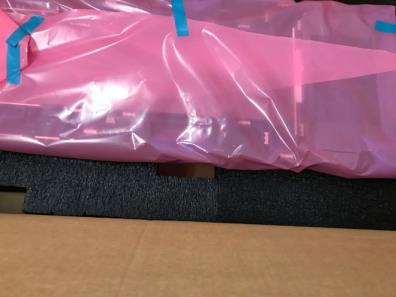
Loosely fold the plastic sheet over the Service Tray. Place one piece of tape on the sheet overlap.
-
Fold the plastic sheet corners and tape in place.
-
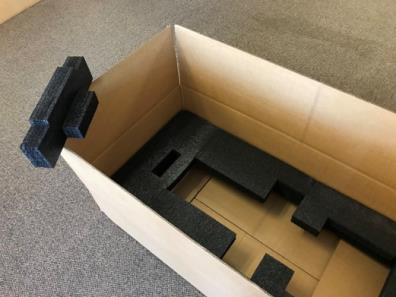
Tape the bottom of the box. Place the bottom packaging foam in the bottom of the box.

-
Remove the spacer block from the bottom packaging foam.
-
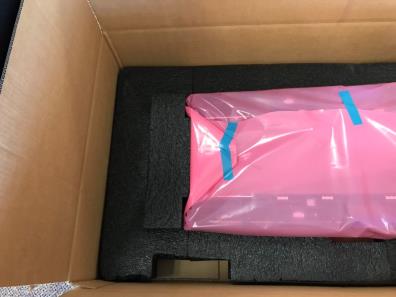
Install the Service Tray into the bottom packaging foam. Note that the back plate side is installed on the opposite side from where the spacer block was removed.
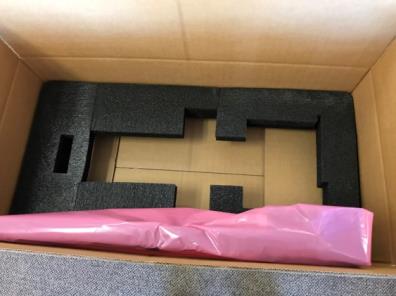
-
Set the Service Tray flat into the bottom packaging foam. Pressure will be required to seat the Service Tray into the foam.
-
Re-install the spacer block.
-
Place the top packaging foam in the box.
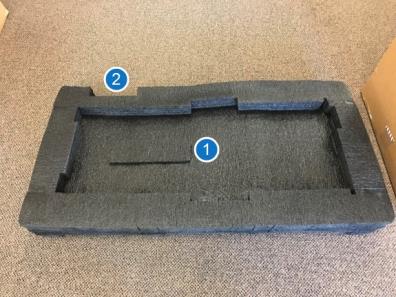
Item Description 1 This is the side of the top packing foam that goes against the Service Tray. 2 This notch should line up with the same notch on the lower foam. 
-
Place shipping labels on the the box and tape the box shut.