Upgrade the StorNext UUI Software
If your system has an internet connection, you can use the YUM repository to update the StorNext UUI software (see Upgrade from the YUM Repository (for internet-connected systems)).
Otherwise, you must use offline updates (see Upgrade from myStorNext (for dark site and offline upgrades)).
Note: After installation, system administrators should return to the myStorNext website periodically to obtain updates. In addition, the myStorNext website includes other downloads to manage your Quantum appliance and software solutions.
- Using an SSH utility (like Terminal for the MacOS or PuTTY for Windows), log in to the CLI of Xcellis server node 2 (MDC) and enter
stornextfor the log in user name and enter the password for thestornextuser account.
- Log in as the
rootshuser from within thestornextuser account. Enter: - Enter the password for the
stornextuser account again. - Run the UUI update command. Enter:
- When the update is complete, log out of the SSH utility. Enter the word
exittwice to close the console.
sudo rootsh
/opt/quantum/uui-common/bin/uui upgrade
The update will download from the Quantum online YUM repository and update to the latest StorNext Unified UI software.
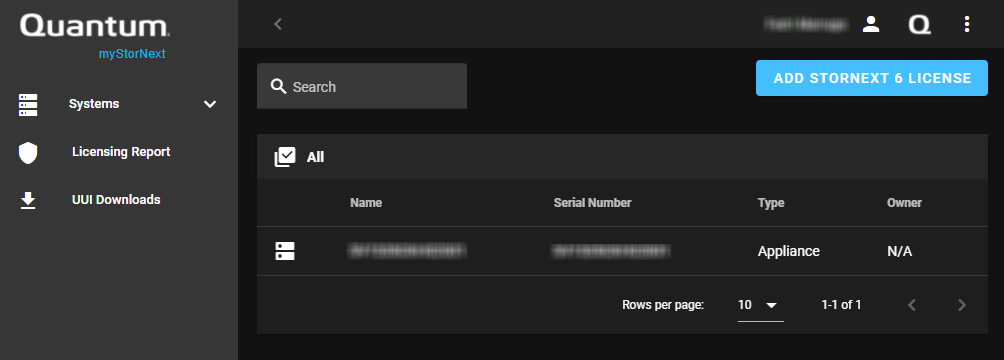
- Navigate to the myStorNext web site at: https://mystornext.quantum.com/ and log in using your myStorNext email and password.
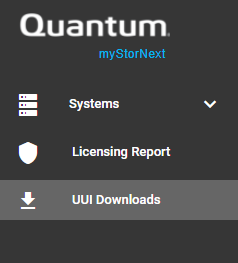
- In the left navigation, click UUI Downloads.
-
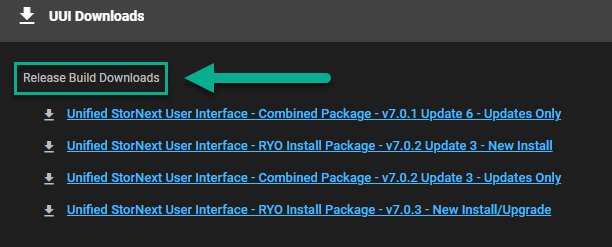
The Release Build Downloads section describes the file available for download. See the image below as an example:
-
If you are performing an upgrade of the UUI package on a StorNext appliance, then click on a link labeled Combined Package...Updates Only that corresponds with the version of StorNext installed on your system.
-
If you are performing a new install of the UUI on your own hardware (non-StorNext appliance), then click on a link labeled RYO Install Package...New Install that corresponds with the version of StorNext installed on your system.
-
If you are performing an upgrade of the UUI on your own hardware (non-StorNext appliance), then click on a link labeled RYO Install Package...New Install/Upgrade that corresponds with the version of StorNext installed on your system.
Example (for a download link called):

The downloaded file name will be similar to:
uuiryo-install-pkgs-v702RC1-2021-12-07.tar.gz(where: green indicates the StorNext version, and blue is the build date)
-
- Use scp or sftp to copy the . tar.gz upgrade file to the
/home/stornextdirectory using the IP address for Xcellis server node 2 . - Log in to the command line of Xcellis server node 2 as the
stornextuser and the password for thestornextuser account.
Note: Use either a drag-and-drop SCP or FTP utility (like Transmit or Filezilla for MacOS, or WinSCP or Filezilla for Windows), or a command-line utility (like Terminal for MacOS, or the Windows 10 or later command prompt or PuTTYSCP.exe for Windows) to manually copy the files.
- Log in as the
rootshuser. Enter: - Enter the password for the
stornextuser account again. - Move the .. tar.gz file to the
/scratch/directory on the StorNext VM: - Extract the file in
/scratch/: - Change to the extracted directory:
- Install the StorNext Unified UI update. Enter:
- Log out of the StorNext Unified UI, if open.
- Clear your browser cache.
- Log in to the StorNext Unified UI, if needed. See Access the StorNext User Interface (new UI introduced in StorNext 7.0.1).
sudo rootsh
Example (StorNext Unified UI update 6):
mv /home/stornext/stornext-uui-v701-update6-rc1-2021-06-10.tar.gz /scratch/
Example (StorNext Unified UI update 6):
tar xvzf /scratch/stornext-uui-v701-update6-rc1-2021-06-10.tar.gz
Example (StorNext Unified UI update 6):
cd /scratch/stornext-uui-v701-update6-rc1-2021-06-10
./uui-update.sh
