 minute read
Viewing and Modifying OST LSU Snapshots
DXi Secure Snapshots enable users to create point-in-time physical copies, or snapshots, of shares or OST LSUs. Each snapshot is timestamped, secured and isolated in a non-network-addressable blockpool located in the DXi system, enabling fast recovery from ransomware attacks.
Use the OST Snapshots List to:
- See all snapshots taken of selected OST LSUs in your system.
- Select point-in-time snapshots of individual LSUs to:
- Extend snapshot retention time in days, beyond the time period set when the snapshot(s) were created.
- Recover LSU snapshots to new LSUs.
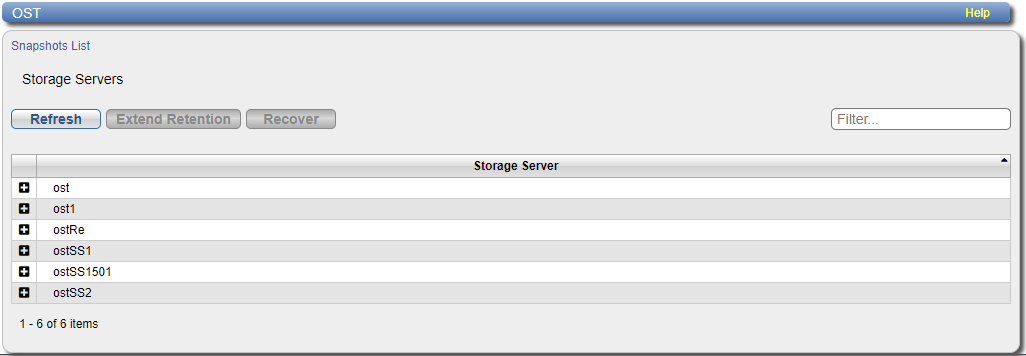
Use the following steps to see all existing OST LSU snapshots by storage server:
- From the DXi console, select Secure Snapshots on the left side of the screen and select the OST tab.
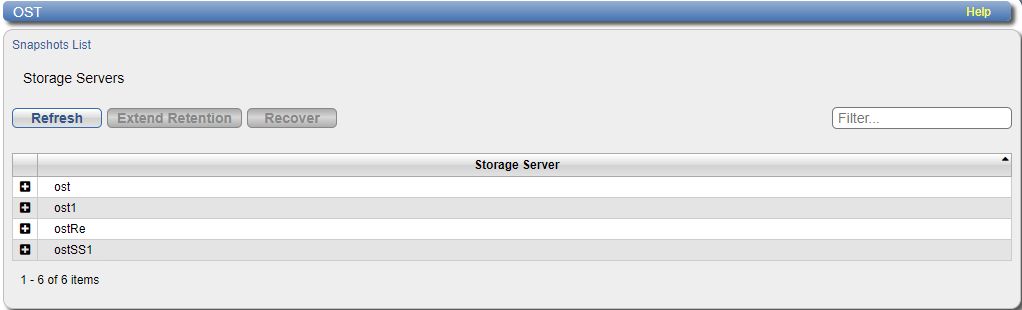
- In the Snapshots List, click the plus-sign icon next to the desired storage server, then again to show the LSU's existing snapshots.
The Snapshots List now shows the selected Storage Server's name. You can click Storage Servers to return to the parent list.
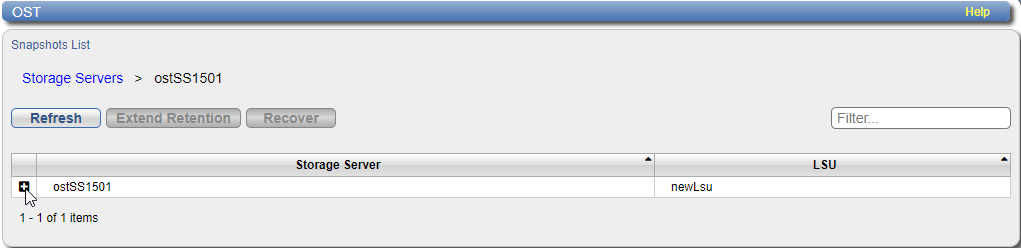
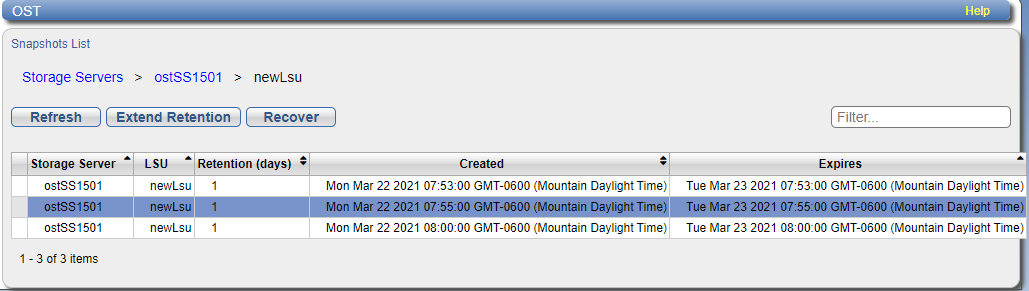
The LSU snapshots for the selected server are displayed.
Use the following steps to extend the retention time in days for all OST LSU snapshots within an existing storage server, or for any individual snapshot.
- Use the instructions in Viewing Existing OST LSU Snapshots to access the desired OST LSU snapshot(s) from the OST Snapshots List.
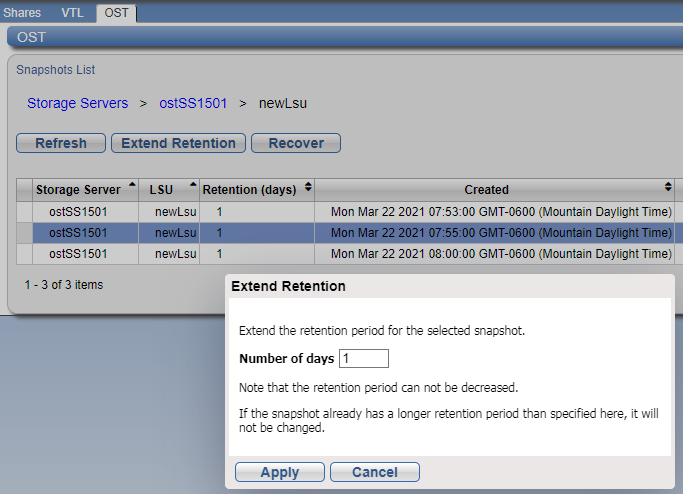
- Click on any snapshot to select it, then click Extend Retention.
- In the Extend Retention dialog for the selected snapshot, type the new Number of days to retain the snapshot, then click Apply to save the extended retention period and close the dialog.
Note: Before clicking in a row to select the LSU snapshot to extend, the Extend Retention button displays ungrayed (inactive).
Note: When you click in the box or hover your mouse cursor over the box, up-or-down arrows appear next to the existing number that you can either use to increase the number of days. You can still click in the box and type the new number. Remember that you cannot reduce the number of days to retain snapshots.
Complete the following steps to recover a snapshot for an OST LSU:
- Use the instructions in Viewing Existing OST LSU Snapshots to access the desired OST LSU snapshot(s) in the OST Snapshots List.
- Click on any snapshot to select it, then use the Created column and the specific date and time for the snapshot you want to recover, then click Recover.
- In the Recover LSU to ost dialog, type a name for the LSU you are recovering from the snapshot, like recovered-lsu2, then click Apply to begin the recovery.
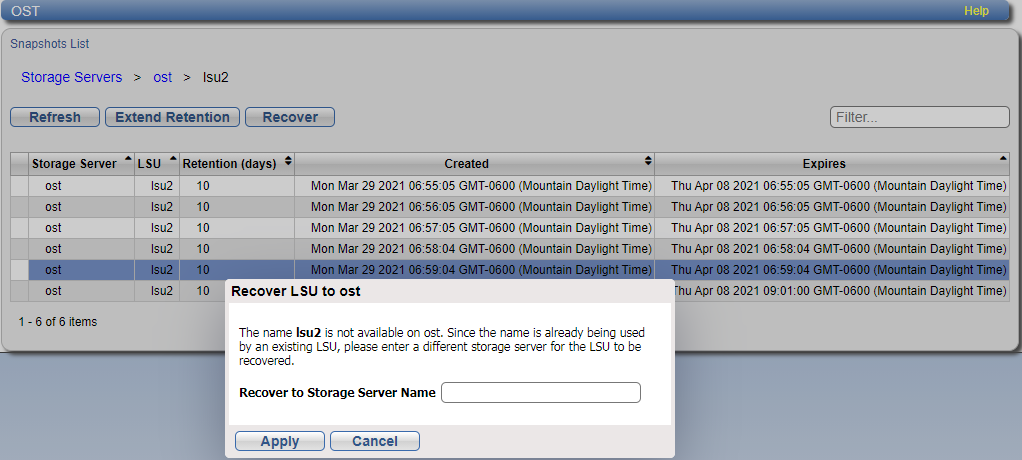
Note: Recovery time varies and depends on the volume of LSU data.
