 minute read
Scheduling Secure Snapshot Events
After you have:
- Enabled Secure Snapshots globally in the system, using Enabling Systemwide Secure Snapshots
- Enabled snapshots for individually selected NAS and Application Specific shares, partitions or LSUs, using Enabling Secure Snapshots for Individual Shares.
The next step is to open the Scheduler in your DXi9000 Series system and schedule the type(s), dates, and times to schedule your snapshots.
NOTES:
-
For more information on viewing and scheduling Secure Snapshots, scheduling shares or partitions for replication, scheduling replication throttling, space reclamation and more Scheduler activities, see Scheduler.
-
You cannot reduce the period of retention for previously set snapshots.
Scheduling Snapshot Events
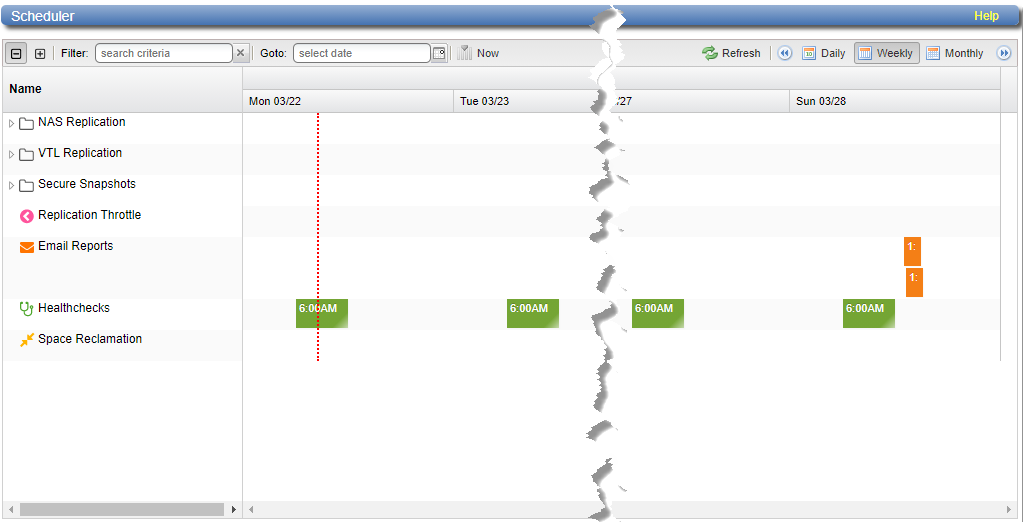
There are commands for scheduling snapshot dates and times, called events, in DXi Command Line Interface (CLI). In this topic we will use the DXi console. Scheduling snapshots for shares, partitions or LSUs in your system uses the same Scheduler screen as you use for scheduling replication, healthchecks and space reclamation. For details on scheduling other events in your system, see the Scheduler topic in your DXi9000 Series Documentation Center, at Operate > User Guide > Scheduler.
Note: If you need to reboot the system, all scheduled events will restart at their next scheduled time. Events set to occur in a repeated instance during the reboot will resume at the next scheduled instance. Events set to expire at the time of reboot will simply expire and the snapshot retention period will determine when the snapshot is deleted.
To schedule snapshot dates and times for your snapshot-enabled shares:
- Select Configuration > Scheduler to open the Scheduler.
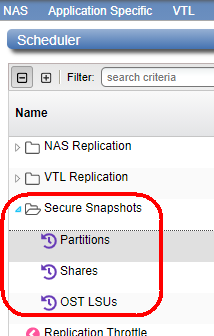
- Click on the drop-down arrow to the left of Secure Snapshots to display the subsections for partitions, shares, and LSUs.
- In the row for Shares, click and drag left to right in that row for any time after the current time today, when you want to schedule your first snapshot. As you do so, the following image, showing the date, displays near your cursor on the screen. The current full week is displayed. The red vertical dashed line shows today's date and approximate time.
- In the Start box, use the popup calendar icon to the right or type the date in mm/dd/yyyy format, then if needed (that is, if the click-and-drag time you selected that appears is not exactly when you want the snapshot event to start), click the dropdown arrow to the right of the time shown and select the time to start the snapshot.
- (Optional) In the Description box, type a description of the snapshot event, or any other relevant note(s).
- In the Repeats box, click the dropdown arrow and select the frequency of snapshots to schedule: Does not repeat, Daily, or Weekly. See Setting Recurrence for a Scheduled Event.
- Click Apply to close the dialog and save your scheduled snapshot event.
Note the name column at left, showing Secure Snapshots with a dropdown arrow next to the folder icon.
Note: In the following example we will create a snapshot event for shares that you enabled for snapshots using the instructions in the previous process, Enabling Secure Snapshots for Individual Shares.
Note: Don't be concerned that you cannot set the time at this point. The dialog to set the specific date and time appears as soon as you release the mouse button as we describe in the next step.
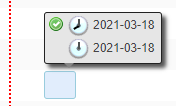
Releasing the mouse button displays the New Secure Snapshots Event dialog, where you can set the specific event start date and time by 15-minute increments.
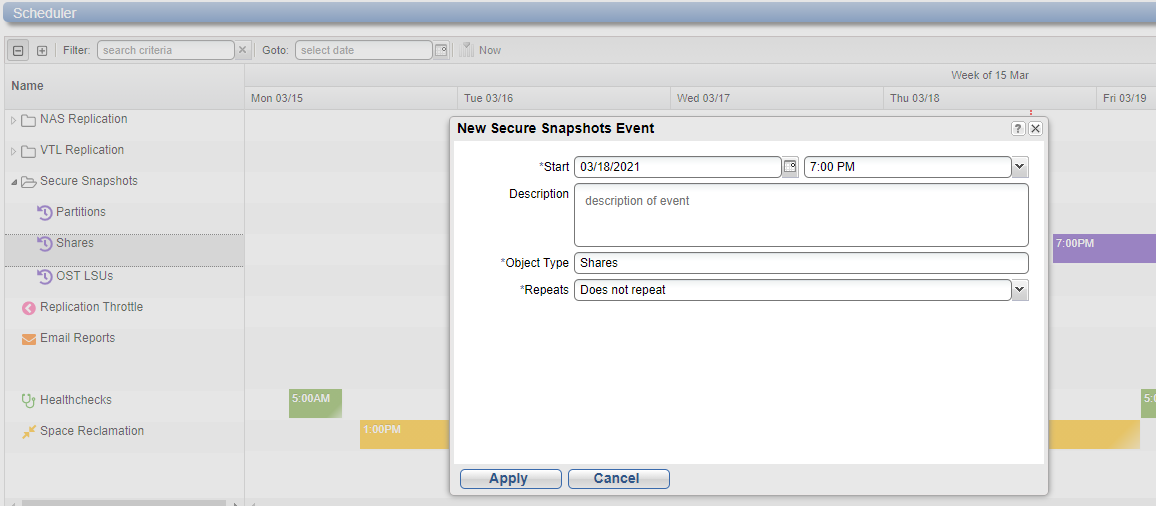
Note: Fields marked with an asterisk (*) are required.
Note: The Object Type is preselected based on the row where you clicked and dragged to schedule an even for the snapshot type. This field cannot be modified. To change to another Object Type, cancel the dialog and click and drag to have the New Secure Snapshots Event dialog display your desired Object Type (partitions, shares, or OST LSUs).
Note: Selecting Does not repeat is useful to schedule immediate-need snapshots.
Note: If by chance you have scheduled an event for the wrong Object Type (like Shares vs. Partitions) and clicked Apply to save and close the dialog, you can right-click on the date and time for the event and select Delete this occurrence or Delete all occurrences. See Deleting a Scheduled Event .
