| How to Create a PDF |
Change the BMC IP Address (Optional)
Use these instructions to log on to your Host Operating System (OS), then access the VMS-Settings Menu and if needed, change the BMC IP address:
Note: The baseboard management controller (BMC) manages the interface between system-management software and platform hardware.
In your browser, type the BMC IP address for the server, in the address bar and press Enter.
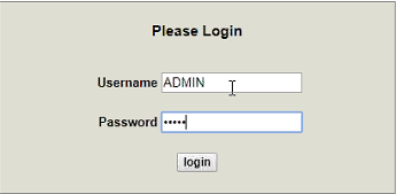
The login dialog appears.
Note: Contact your network administrator for your server's company-specific IP address. If you didn’t change BMC IP address as part of the installation and initial configuration, refer to Access Default Login and Credentials.
Additional Information
- For web browsers, the VS2124 supports Firefox 26 or higher, Chrome 40 or higher, or Internet Explorer 11 or higher.
- If the Login window does not display, verify that you entered the correct server IP address and that the network settings on the computer are correct. Wait 10 minutes, then try again. If the Login window still does not display, contact Quantum Customer Support. See Contacting Quantum.
For this step, use either your company-specified server login credentials, or if your company has not changed the server login credentials, use the Default BMC information provided in Access Default Login Credentials:
- Type ADMIN for the Username or if changed during installation, use your company-specified username.
- Type ADMIN for the Password or if changed during installation, use your company-specified password.
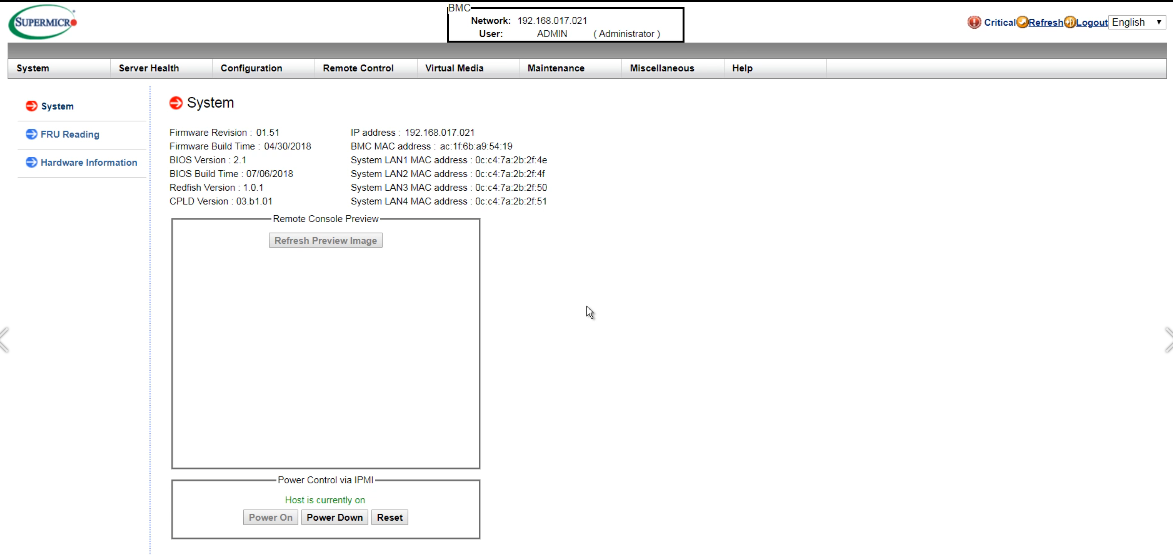
- The Server home screen appears.
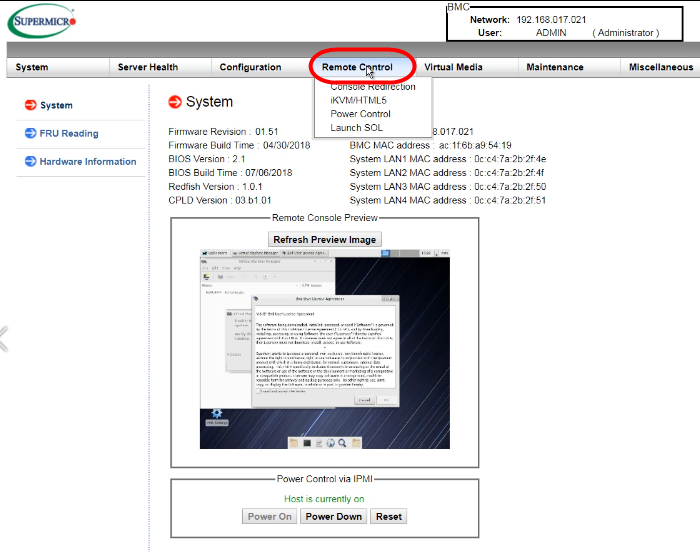
- Click on the Remote Control dropdown to change the left-side navigation to remote control options.
- Continue with the next section to use either an HTML5 or Java viewer to access the Windows VM console.
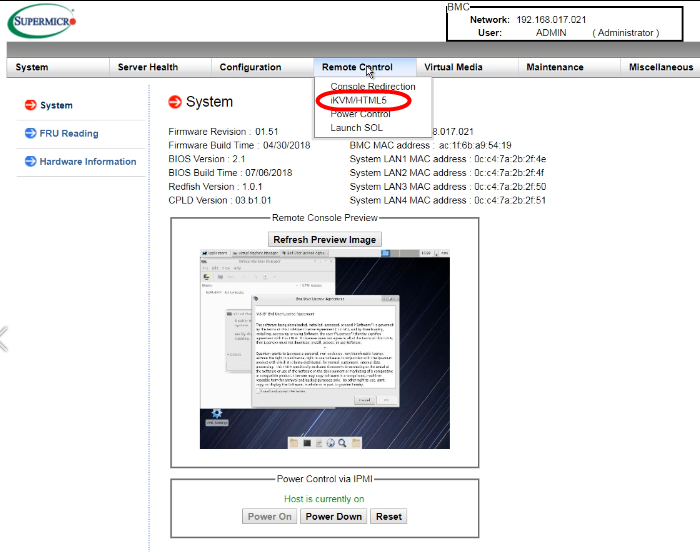
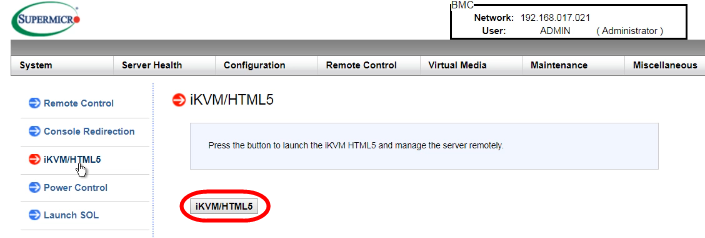
Use these steps to access the BMC console using HTML-based viewer and controls.
- Select iKVM/HTML5 from the Remote Control dropdown.
- Click the iKVM/HTML5 button to access the Host OS.
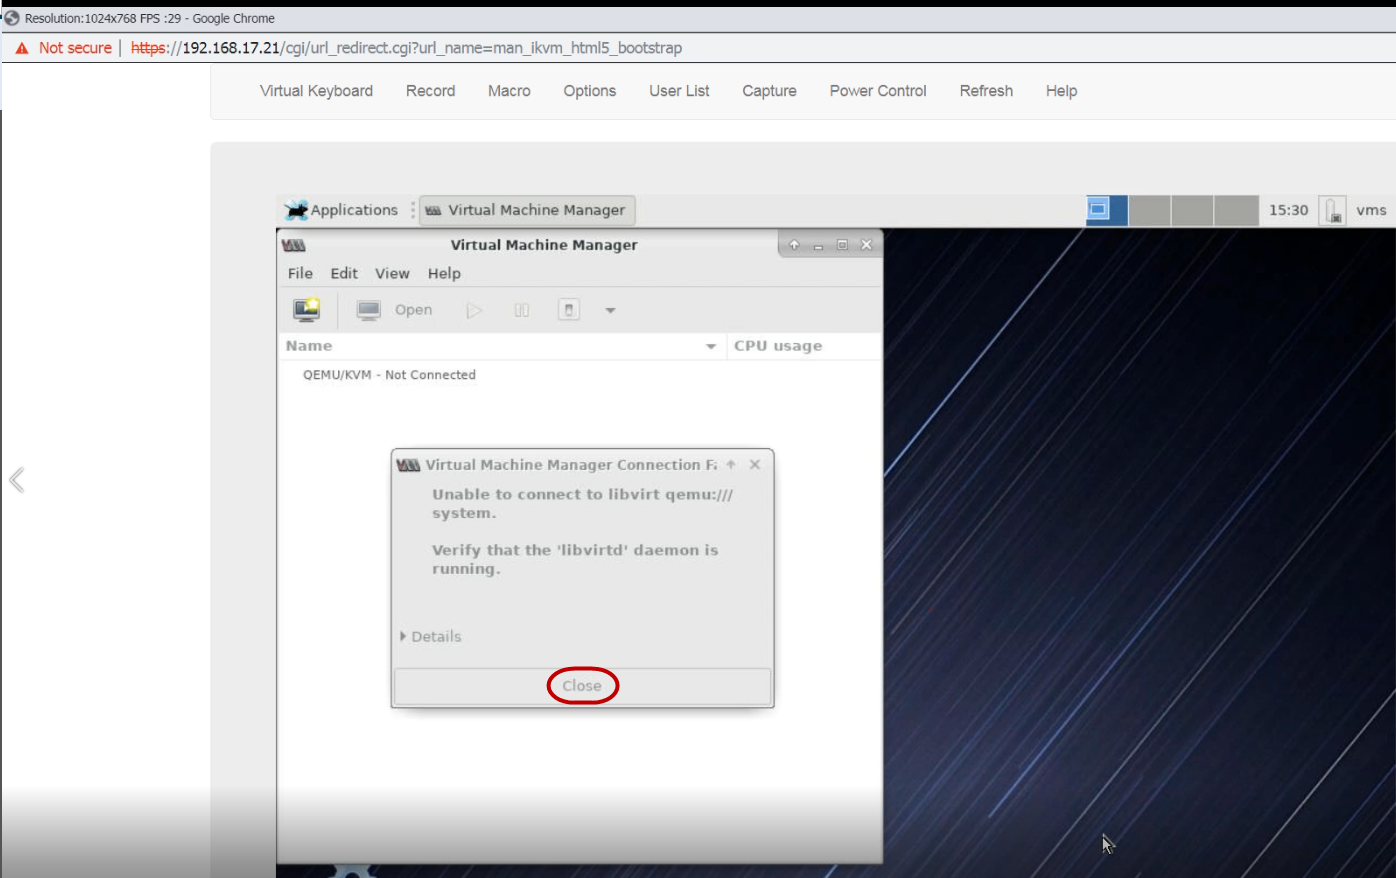
- Click Close at the bottom of the dialog.
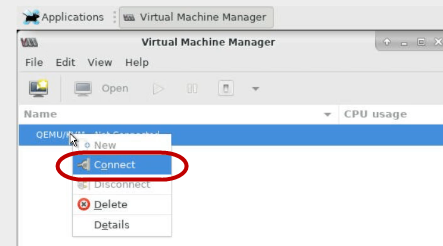
- In the Virtual Machine Manager window, right-click on <xxxx>/KVM and select Connect.
-
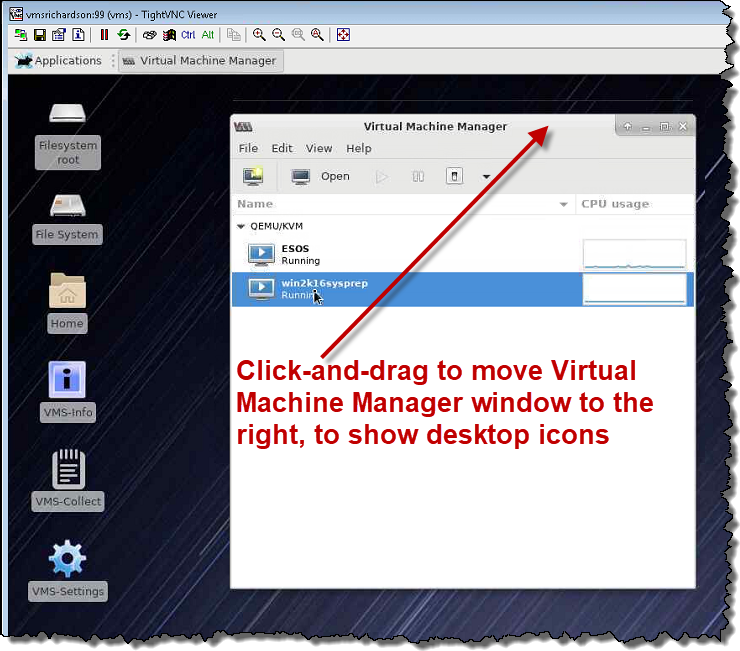
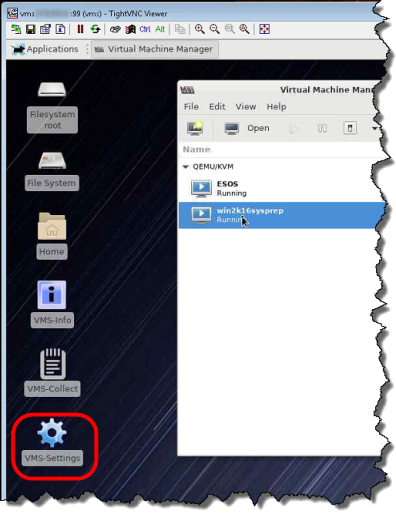
Click and drag the Virtual Machine Manager window to the right on the screen, to show the VMS-Settings icon.
The iKVM/HTML5 screen appears.
Note: At this point during initial installation, the Quantum End User License Agreement (EULA) appears. If so during this process, check I read and accept the terms and click OK to close the EULA dialog.
For the HTML5 access method only, the Virtual Machine Manager screen appears with a message stating Unable to connect to <xxxx> system. Verify that the <xxxx> daemon is running.
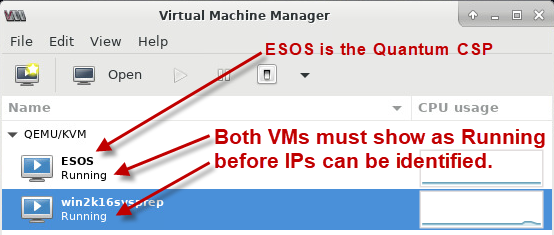
The VM is now connected and displays the Host OS Console, containing the Quantum Cloud Storage Platform (do not access or change) and win2k16sysprep VMs. Both VMs should have the status of Running below the VM name.
Use these steps to access the BMC console using the java-based viewer and controls.
Note: You must have Java version 8 or later installed to use this option.
- From the left-side navigation, click on Console Redirection, then click the Launch Console button.
- Click Keep to continue downloading, then click on the downloaded launch.jnlp file to launch it.
- Click Continue, then click Run on the Java viewer Do you want to run this application? dialog.
- Click and drag the Virtual Machine Manager window to the right on the screen, to show the VMS-Settings icon.
A download confirmation message appears.
An Opening File message appears, then a Security Warning confirmation.
The Host OS Console displays.
To save or change the BMC IP address:
- In the Host OS Console, double-click on the VMS-Settings icon.
- From the VMS-Settings Menu, select option 5 and press Enter.
- At the BMC IP Address [192.168.17.21] prompt, press Enter to accept the default LAN address or enter your company's BMC IP address.
- Press Enter again at each of the following prompts to accept the default settings for:
- BMC Netmask
- BMC Gateway IP
- At the BMC ADMIN user password prompt, type the default password ADMIN or type a new one and press Enter.
