|
How to Create a PDF |
Monitor and Manage a VM
Using the Manage VM Menu, you can create, run, remove, and move a virtual machine (VM) as needed. You can also monitor a VM's status.
Note: Use the Manage VM Menu to perform any VM functions. Do not use the Virtual Machine Manager application, except to mount USB media. See Attach a USB Storage Device for Windows.
If Node 1 fails or is rebooting, its VM automatically fails over to Node 2. However, after Node 1 is online again, you must manually move the VM from Node 2 to Node 1.
The VM Status window automatically displays when you connect to the Host OS console, even if a VM does not exist. If needed, you can open the window by double-clicking VM-Status on the desktop.
![]()
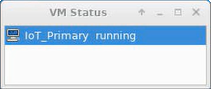
Possible VM statuses are:
- Running
- Paused
- Shut Off
If Node 1 has a VM, it will start automatically after the clustering process is complete, unless it was manually stopped through the Manage VM menu. In that case, you must manually start the VM.
If you reboot a node, an existing VM will not display in the VM Status window until the node exits Standby or Maintenance mode. See Node Operations Menu.
Also, if you stop a VM before rebooting a node, the VM will not display in the VM Status window until you start it again.
With the Manage VM Menu, you can perform the following VM functions on a node:
-
Create and add a VM to a node: You can create a VM to support failover and failback between nodes.
Note: You cannot add a VM to Node 2 if you intend to cluster the node.
-
Remove a VM from a node: You must remove the VM from Node 2 before adding Node 2 to a cluster.
-
Start a VM: Unless you stopped the VM using the Stop a VM function in the menu, the VM starts automatically when you boot up its node. If you shut down the VM by using the Stop a VM function, you must manually restart it with the Start a VM function.
-
Stop a VM: Use this function to stop the VM from automatically starting when you boot up its node.
-
Force a failover or a failback of a VM: The VM that supports failover can be moved to another, clustered node, if its original node fails. You can also return (failback) that VM to its original node.
-
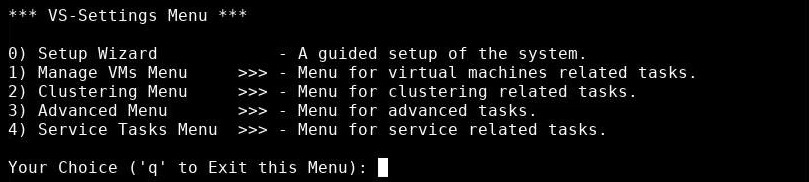
In the Host OS console, double-click VS-Settings.

The VS-Settings Menu appears.
-
In the type 1 in the VS-Settings Menu; then press Enter. The Manage VMs Menu appears.
-
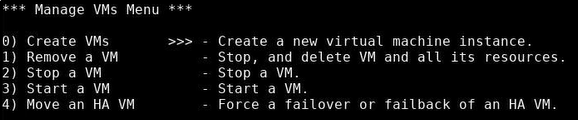
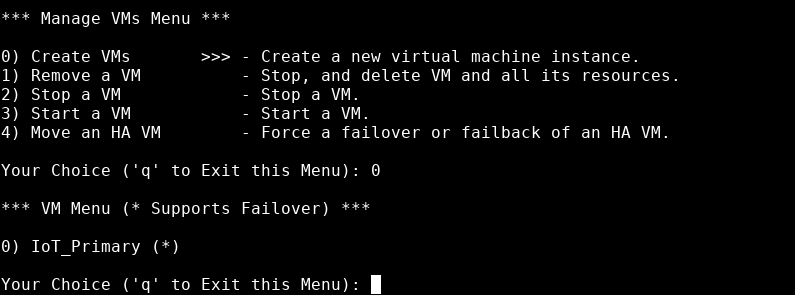
In the Manage VMs Menu, type 0, then press Enter.
-
Enter the number that corresponds to the VM that you want to create, then press Enter. An asterisk (*) indicates that the VM supports failover.
The system informed you of its progress. When the process is complete, "Successfully created VM" displays.
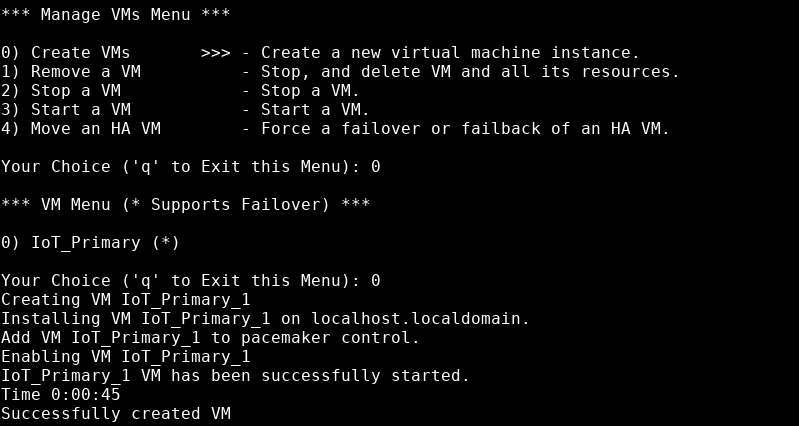
The status of the new VM displays in the VM Status window. For more information about a VM's status, see Monitor a VM.
-
In the Manage VMs Menu, type 1, then press Enter.
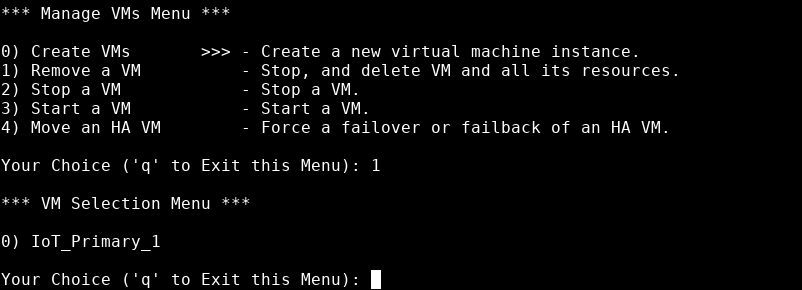
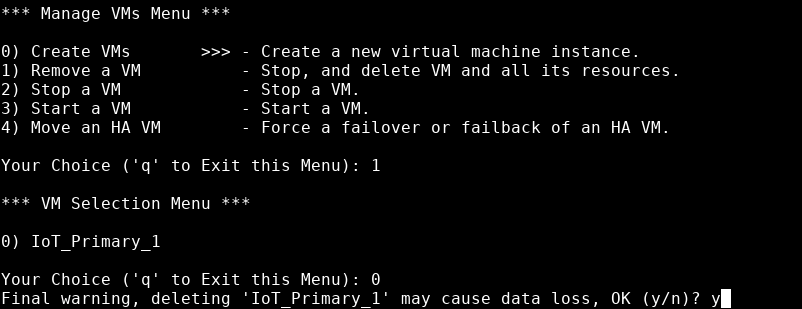
- Enter the number that corresponds to the VM that you want to remove, then press Enter.
-
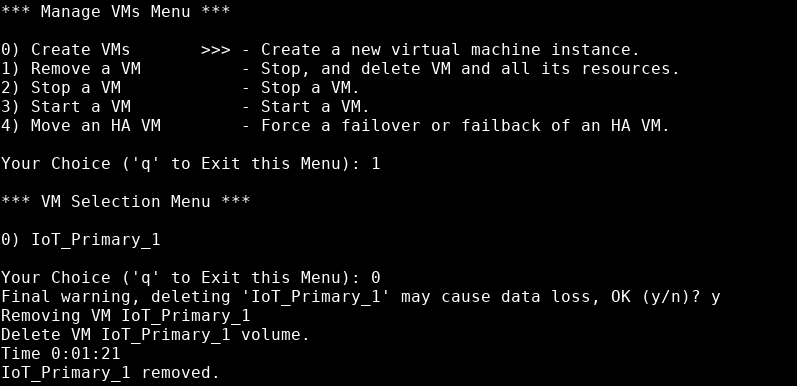
The system notifies you of potential data loss, and asks you to confirm that you want to remove the indicated VM. Type y, then press Enter.
The system indicates how long it takes to remove the VM, then informs you that the VM is removed.
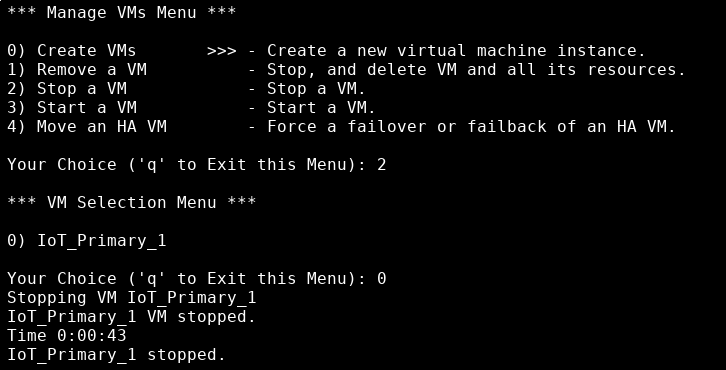
If you stop a VM, you must manually restart it.
- In the Manage VMs Menu, type 2, then press Enter.
-
Type the number that represents the VM that you want to stop, then press Enter.
The system monitors the length of time it takes to stop the VM, then informs you the VM stopped. At that point, the Manage VMs Menu displays.
VMs start automatically, unless they were manually stopped.
- In the Manage VMs Menu, type 3, then press Enter.
-
Type the number that represents the VM that you want to start, then press Enter.
The system monitors the length of time it takes to start the VM, then informs you the VM started. At that point, the Manage VMs Menu displays.

Use this option to failover or failback a VM. The VM on Node 1 will automatically failover to Node 2 if the node stops running or is rebooting. However, you must manually move the VM back (failback) from Node 2 to Node 1.
- In the Manage VMs Menu, type 4, then press Enter.
- Type the number that represents the VM that you want to failover or failback; then press Enter.
- Type the node number to which you want to failover or failback the VM, then press Enter.
-
The system will inform you when the VM is successfully moved to another node.
If the VM did not move successfully, contact Quantum Customer Support.