Set Up a SMB-CIFS Service
Note: Setting up a SMB/CIFS service is very similar to setting up an NFS service.
-
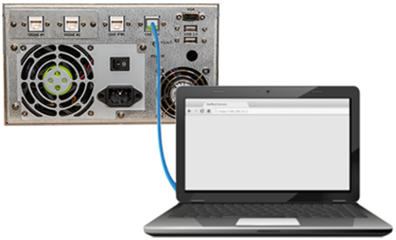
Ensure your computer is connected to the GUI 1GbE port (RJ45) on the back of the system (see below) or to the network.
-
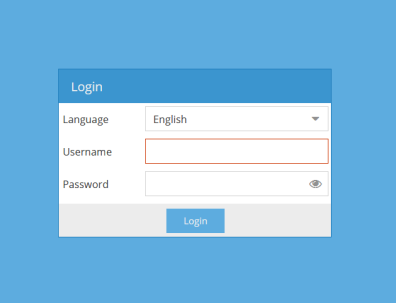
Open a browser and log into the GUI using the new IP address, user name, and password.
- IP address: ______________
- User name: ______________
- Password: ______________
-
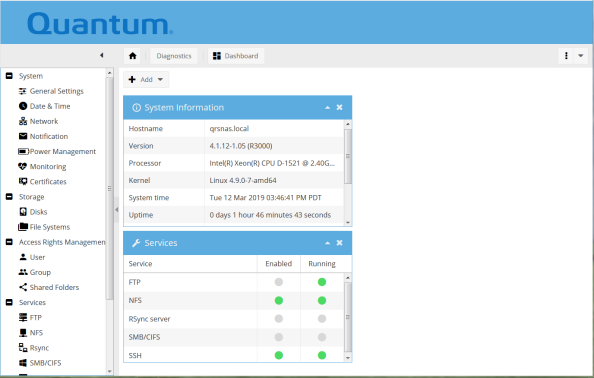
The following screen appears.
- Click on SMB/CIFS and then click on "
Shares".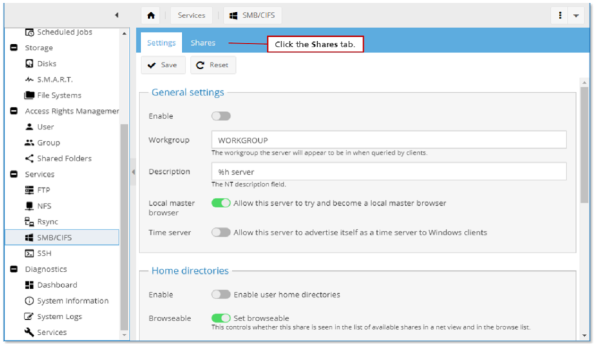
- Click on "
Add".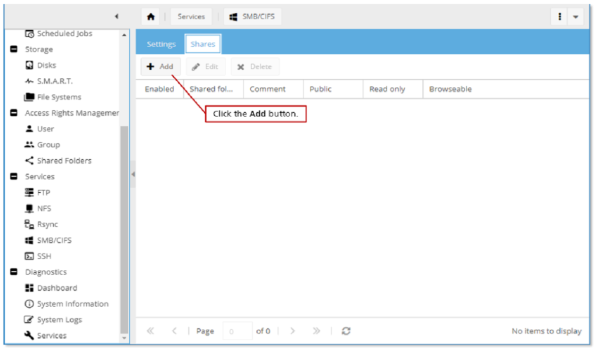
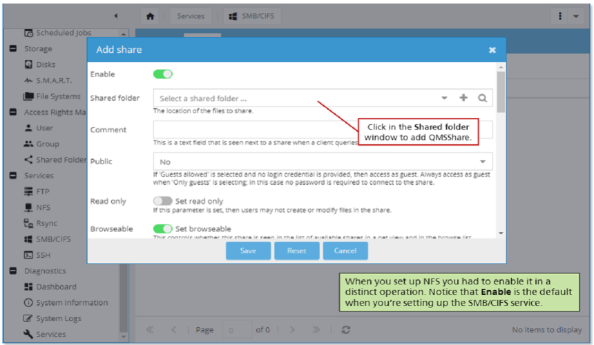
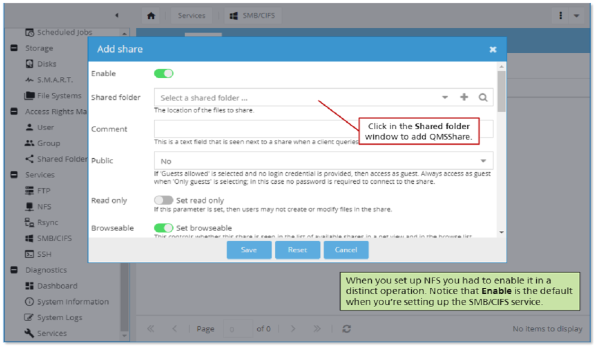
- Notice that
Enableis the default when you’re setting up the SMB/CIFS service.Note: When setting up NFS you had to enable it in a distinct operation.
-
Click on the "
Select a shared folder".Note: Many options are available once you’ve selected your shared folder. The defaults are adequate.
-
Click on the "
Save" button.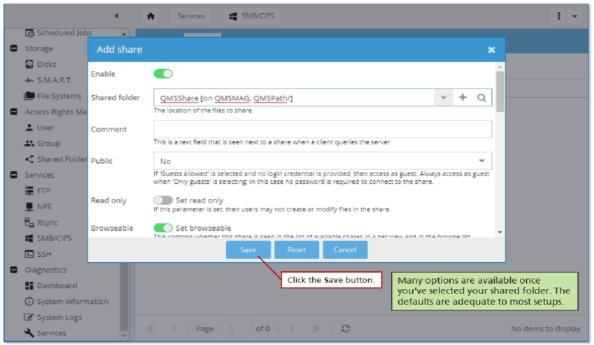
- Click on "
Apply".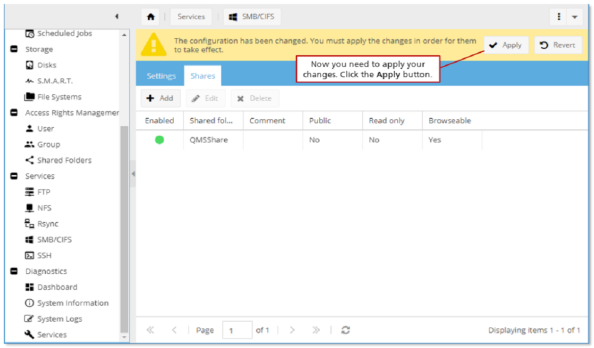
- Click "
Yes" on the "Confirmation" pop-up.
You have successfully added a SMB/CIFS service.
- You may find that your system needs only NFS, or only SMB/CIFS.
- We’ve chosen to create an NFS service during the data center install and provide the SMB/CIFS procedure (in case you wish to set this type of file system up on the R3000 system).
