 minute read
The StorNext GUI provides access to StorNext features and displays system status information. Use the StorNext GUI to create and work with file systems. In addition, on Metadata Controllers running Storage Manager, you can use the StorNext GUI to configure storage devices and media, and to set up storage policies.
The StorNext GUI is browser-based and can be remotely accessed from any machine with access to the StorNext server. Perform the following procedure to access the StorNext GUI.
-
Open a Web browser.
Note: For a list of browsers that have been tested to work with StorNext, refer to the StorNext Compatibility Guide posted online at https://www.quantum.com/snsdocs.
-
In the browser’s Address field, type the full address of the machine, and then press Enter. For example:
https://<machine name>:<port number>Use the name of the machine you copied when you installed the StorNext software. After you enter the machine name and port number, the Login page appears.
Note: Typically, the port number is 443. If port 443 is in use, use the next unused port number (for example, 444, 445, and so on).
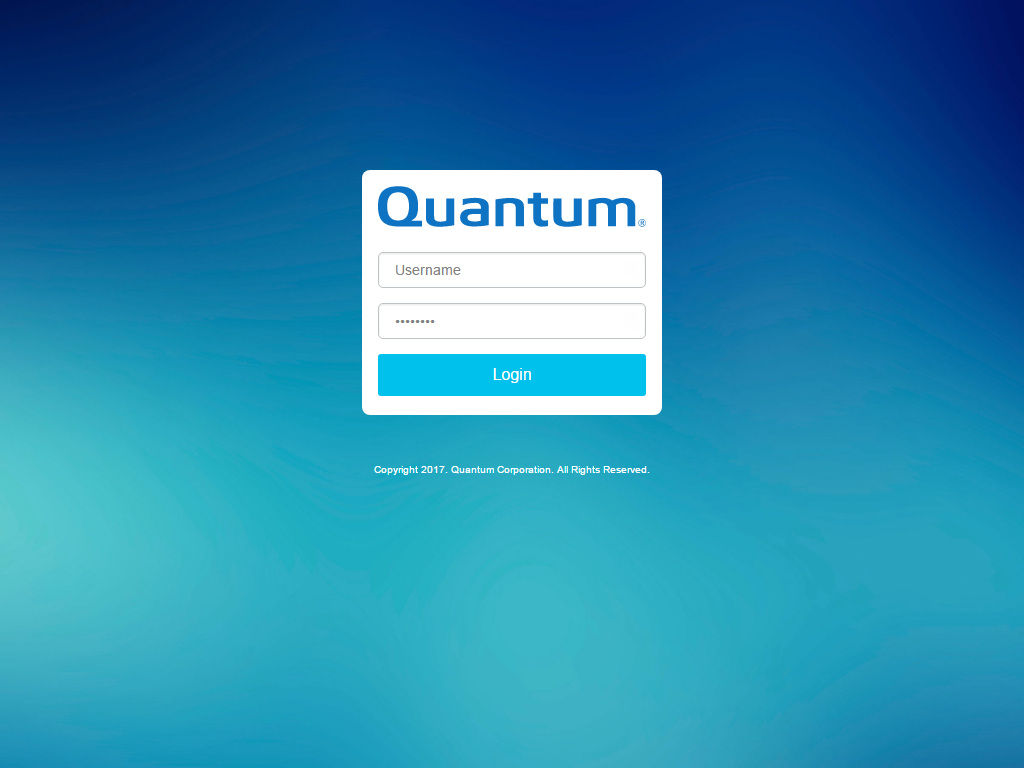
- In the User ID field, type admin.
- In the Password field, type password.
-
Click Login. The initial StorNext System Control page appears.
Note: When you log into StorNext for the first time, you might see a message warning you about a security certificate. Either click the option that allows you to “continue to this site,” or, for a temporary solution, create a certificate exception that will allow you to log into StorNext without seeing the warning message during subsequent logins attempts.
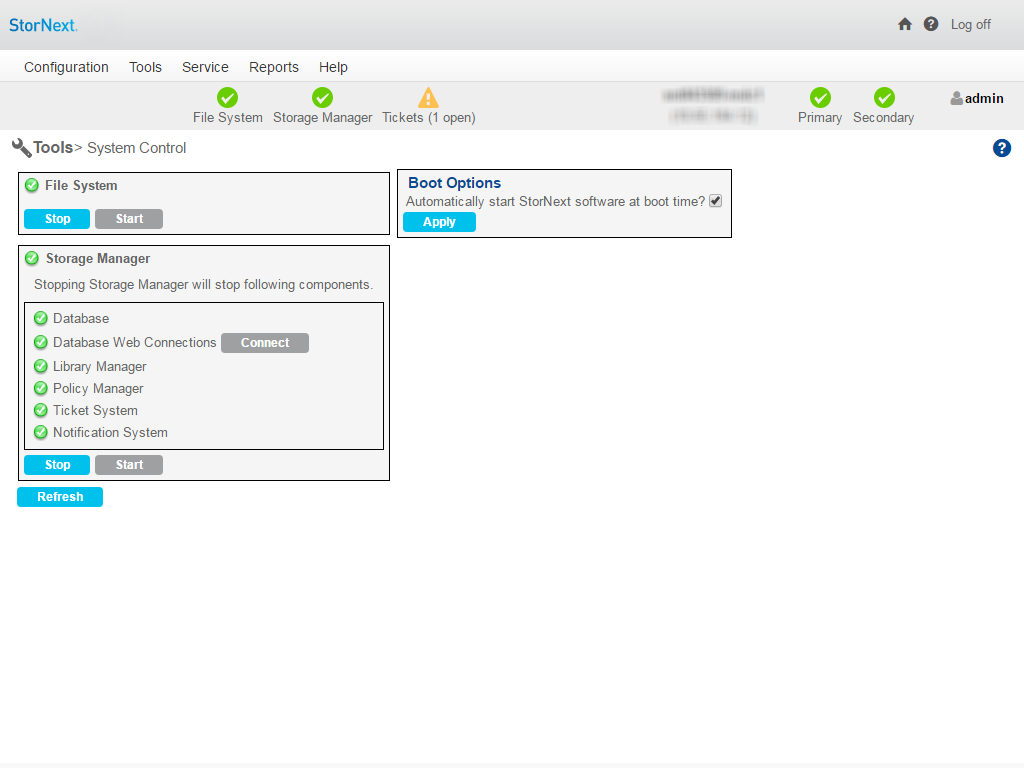
-
On this screen you can determine if the StorNext File System and Storage Manager components are currently started. If not, click Start for each component to start them.
Note: If you are logging in for the first time, it is likely that Storage Manager will be stopped and require starting.
-
Click the home (house) icon in the upper right corner to go to the StorNext Home Page.
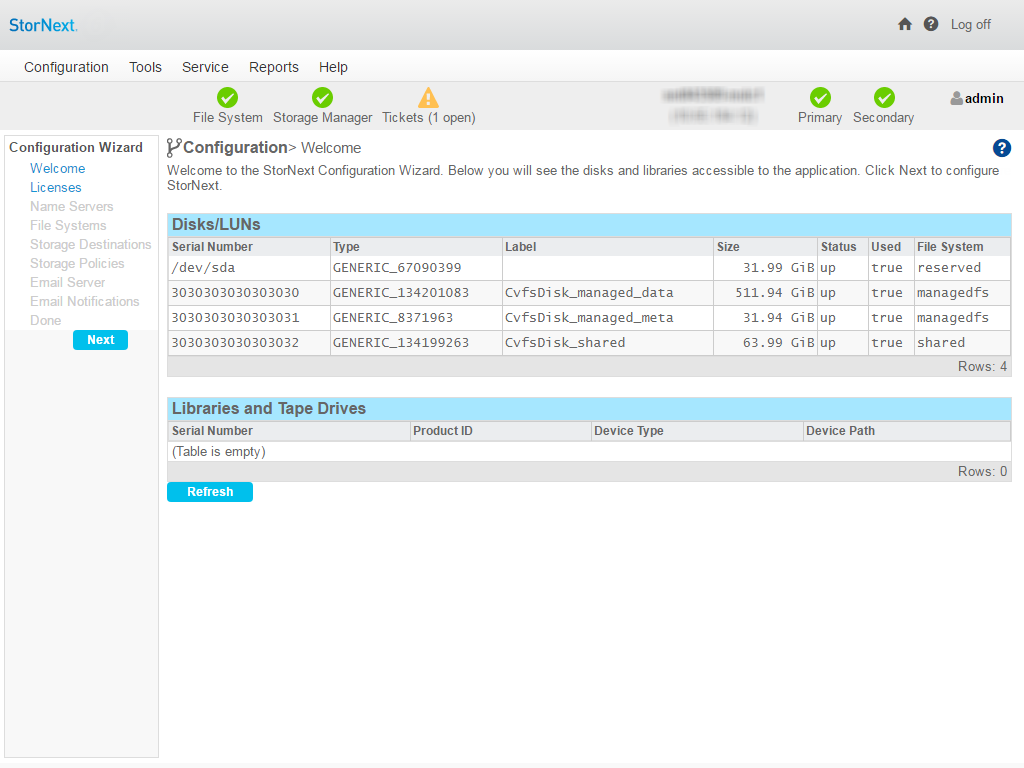
The first time you log onto the StorNext GUI, the Configuration Wizard appears. The wizard guides you step-by-step through the process of configuring StorNext.
Note: Using the Configuration Wizard to configure StorNext is optional. All configuration tasks can be accessed at any time using the StorNext Setup menu.
The Configuration Wizard consists of multiple steps. The wizard lets you navigate between steps and tracks your progress as you complete each step.
- To go to the next step, click Next.
- To return to a previous step, click Back (or click the step in the list).
These are the steps you’ll complete in the Configuration Wizard:
- Welcome: View disks and libraries currently available for StorNext usage.
- Licenses: Enter StorNext License Information.
- System: Set up the networking configuration for StorNext Metadata Appliances (M660, M440 and M330). This step only appears on the Configuration Wizard of StorNext Metadata Appliances.
- Name Servers: Specify and order the machines acting as StorNext name servers.
- File Systems: Add a StorNext file system.
- Storage Destinations: Add a library, storage disks, and other storage destinations.
- Storage Policies: Add a Storage Manager or replication storage policy.
- Email Server: Specify an email server to handle StorNext notifications.
- Email Notification: Add e-mail notification recipients.
- Done: Signify that you are finished using the Configuration Wizard. You can also convert to a high availability (HA) system.
To see more detailed instructions for completing Configuration Wizard tasks, see Configuration Wizard.
